One or the other of you will be faced with the question of how to build a wall shelf or lightboard of any length. One possible solution: Just take the IKEA Lack wall shelves and build a new wall shelf with the help of these.
First, determine the length of the wallboard to be created and select a corresponding number of Lack wall shelves. In the case shown here we use three IKEA Lack wall shelves with a length of 1.10 meters. The Lack shelves do not have to completely fill the entire length of the newly emerging wallboard. Gaps are allowed and sometimes even useful.
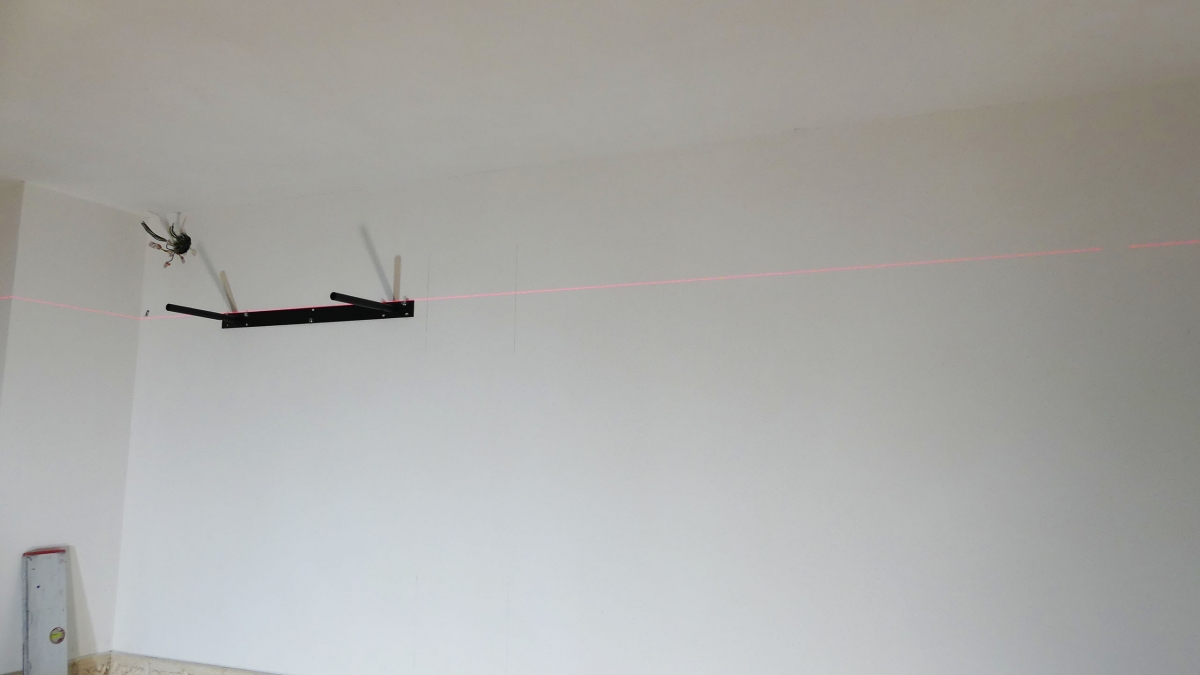
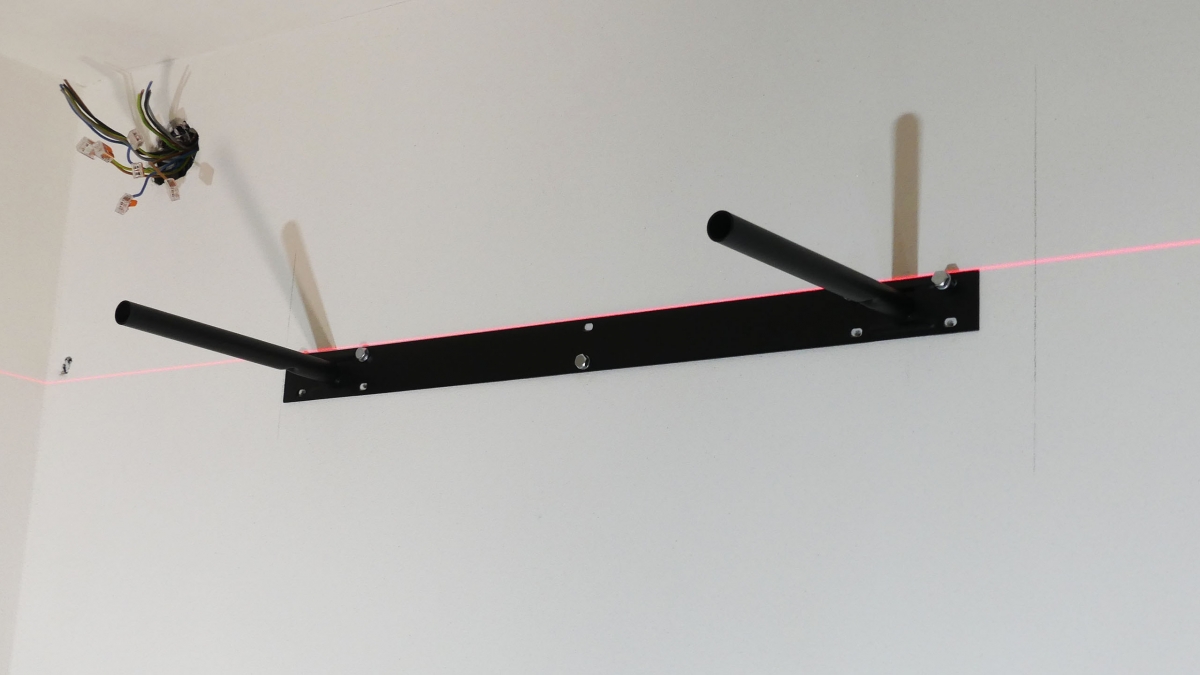
After determining the height of the wallboard, it starts already. The carriers of the Lack wall shelves are mounted on the wall. A laser is very helpful for aligning the consoles to each other.
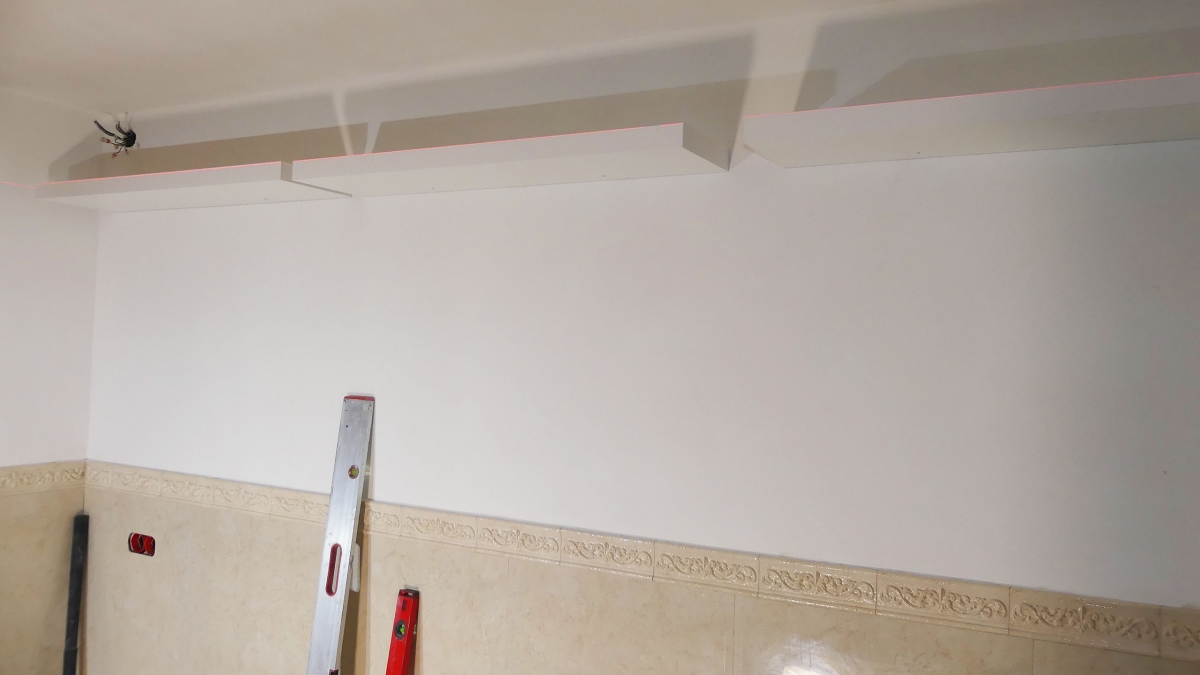
After mouting the consoles the Lack shelves are pushed and locked on this.
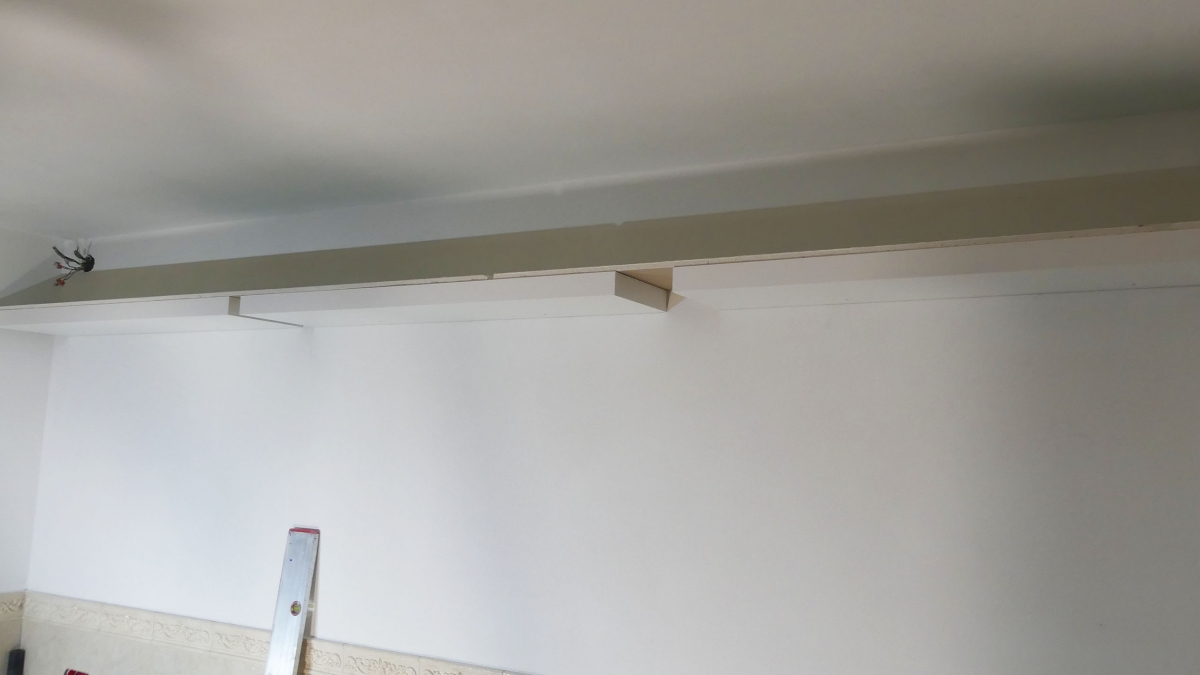
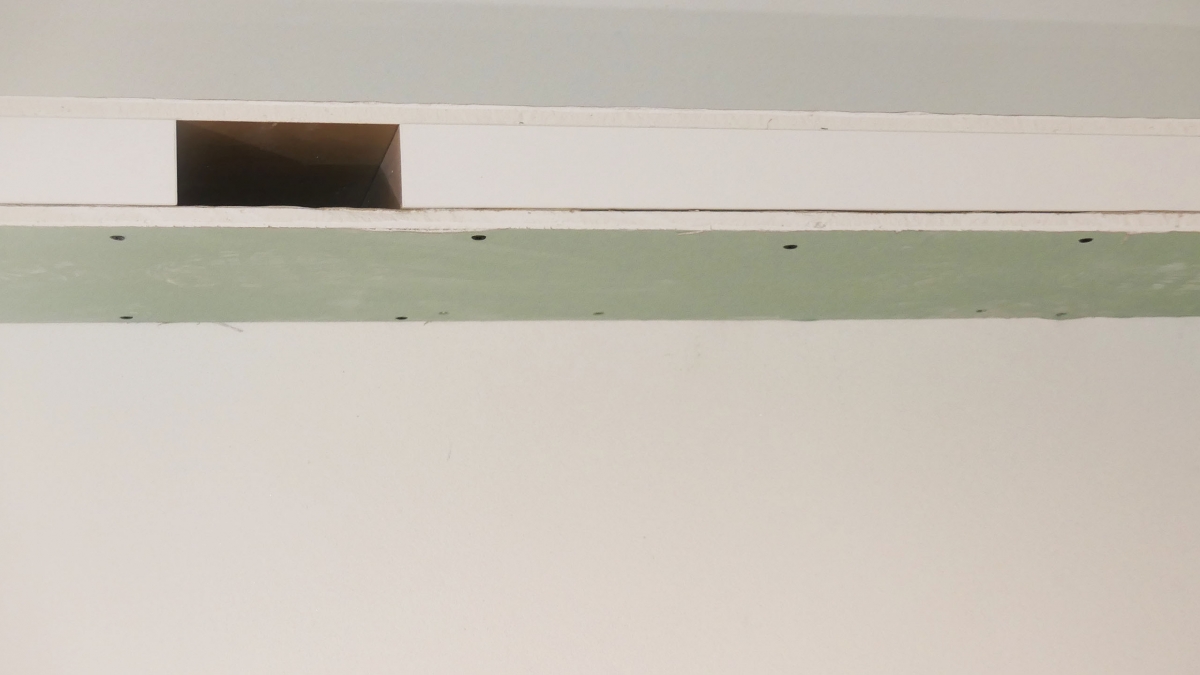
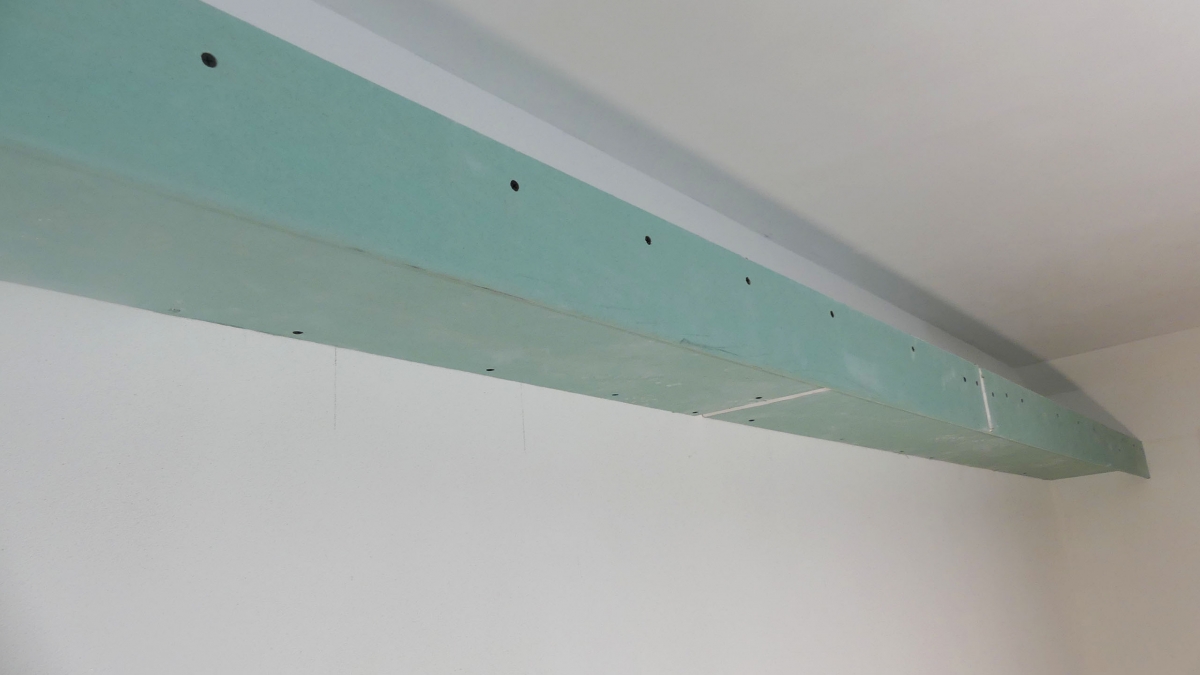
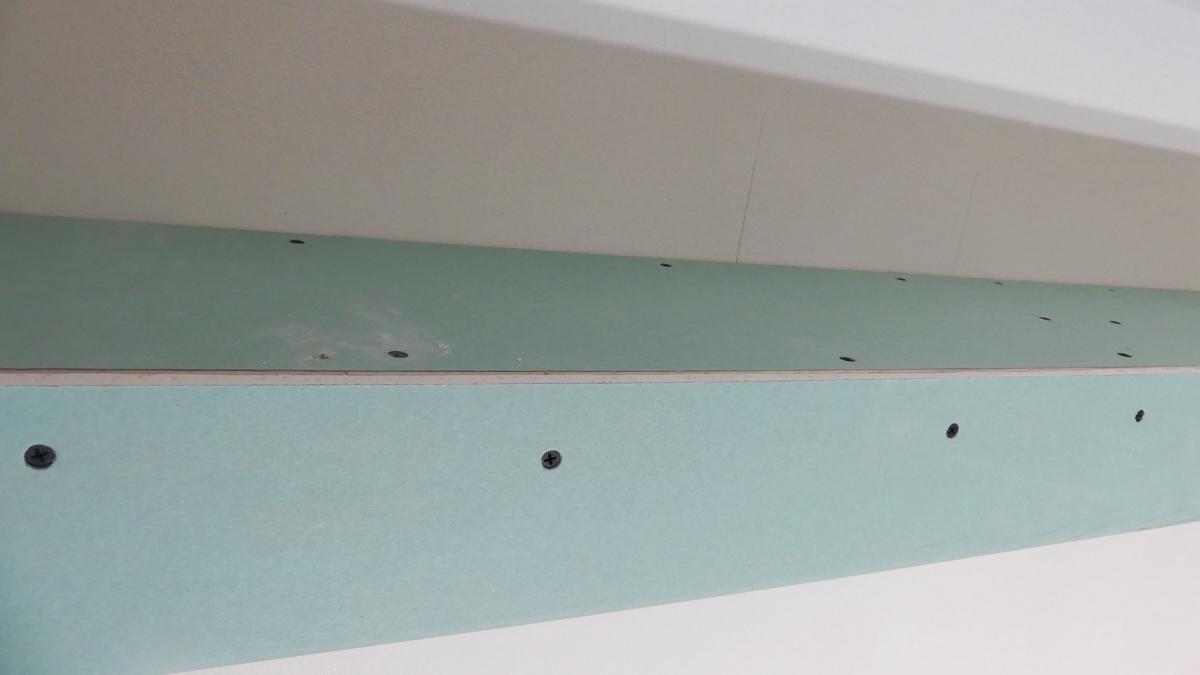
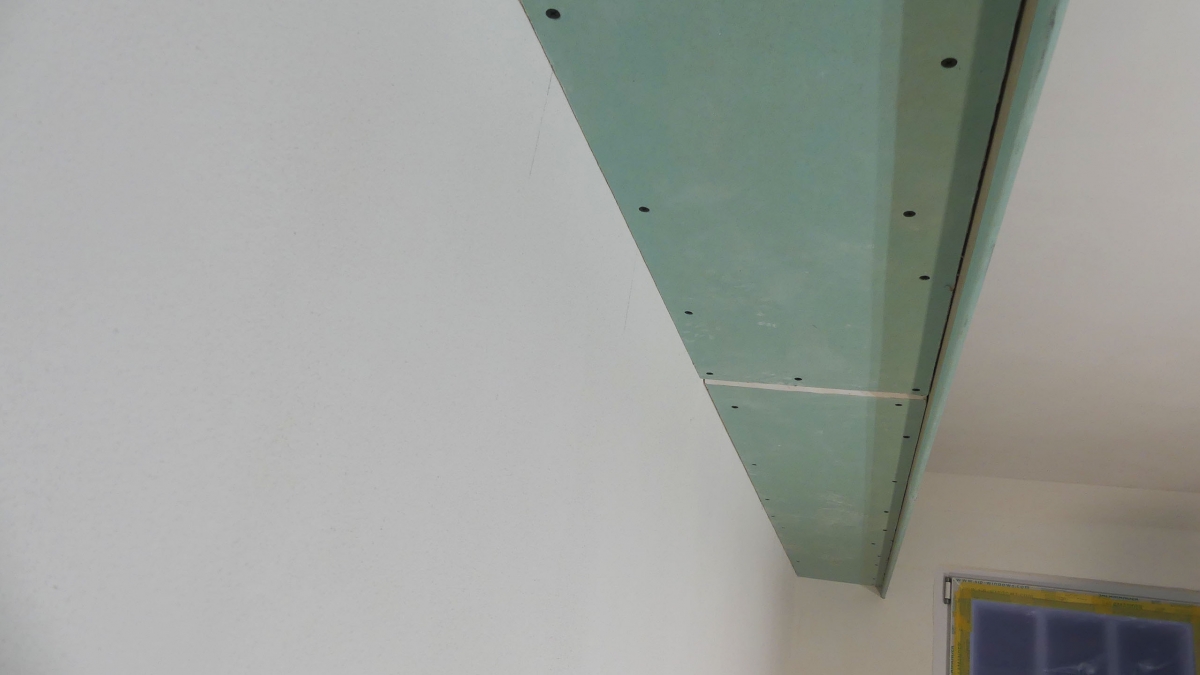
Then the Lack wall shelves are covered with plasterboard. The lower panel is glued and screwed for safety’s sake, as the drywall screws do not hold well inside the Lack wall shelves. But this is just a safety measure for the lower panel, on the top this is not necessary and in the front, the screws tighten very well.
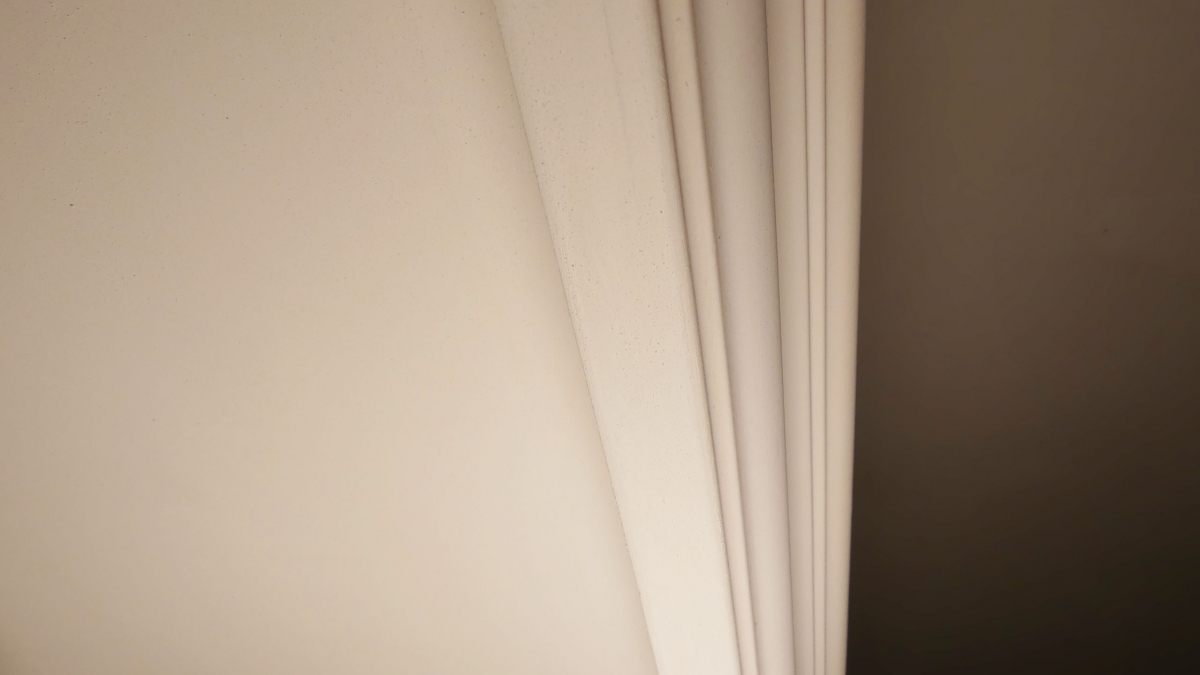
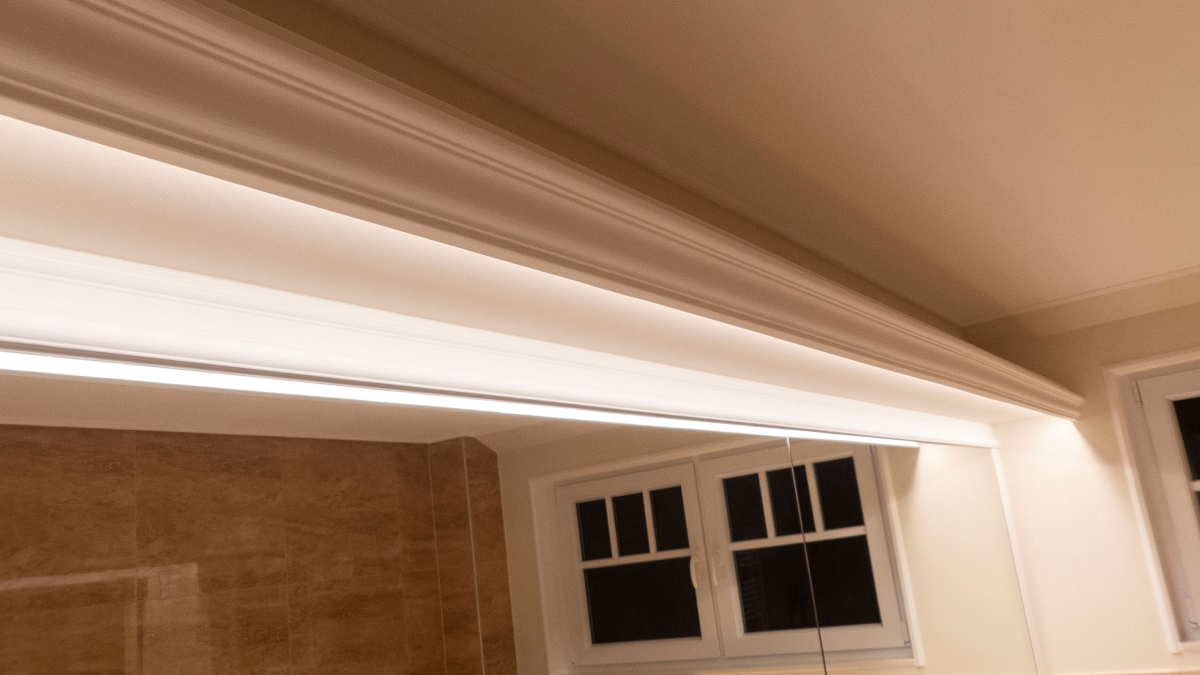
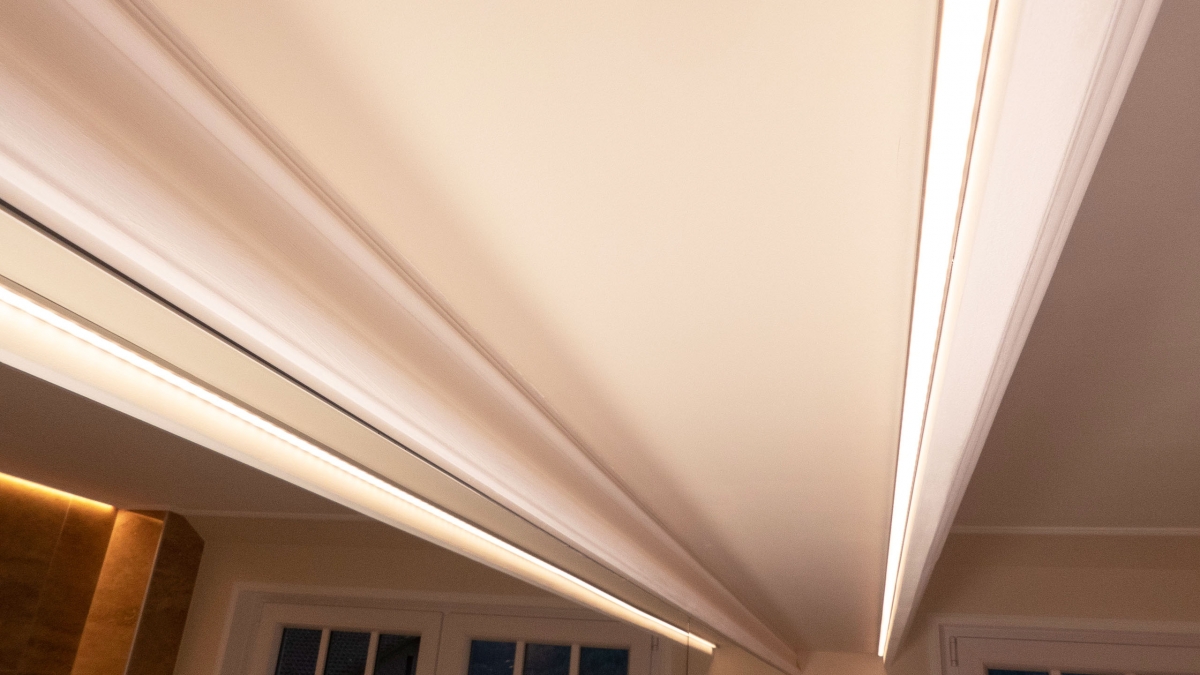
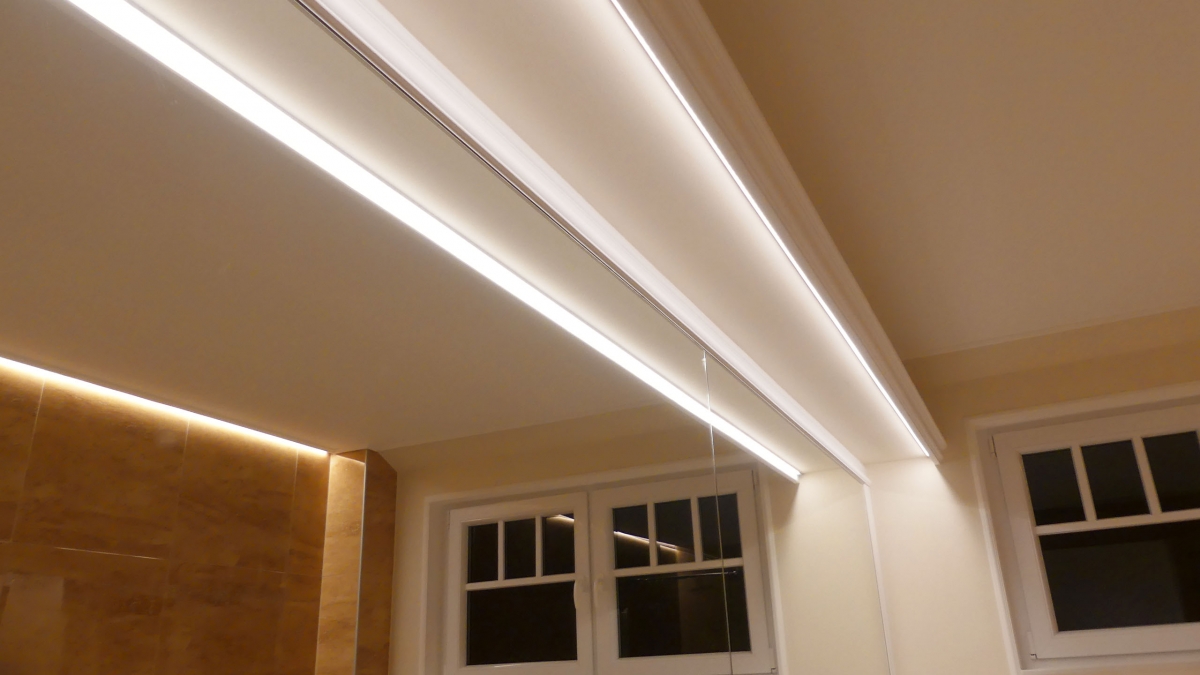
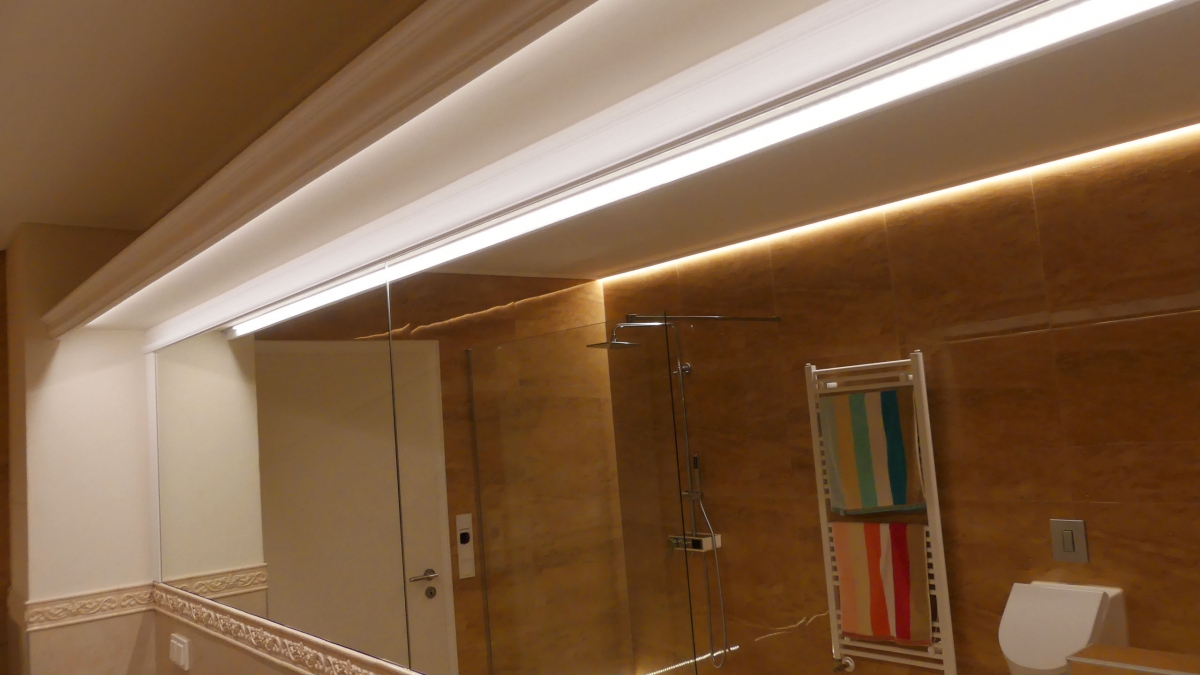
In the example shown here, the front panel is designed as a light panel. In order to have an indirect lighting situation later, the front paneling is a few centimeters above.
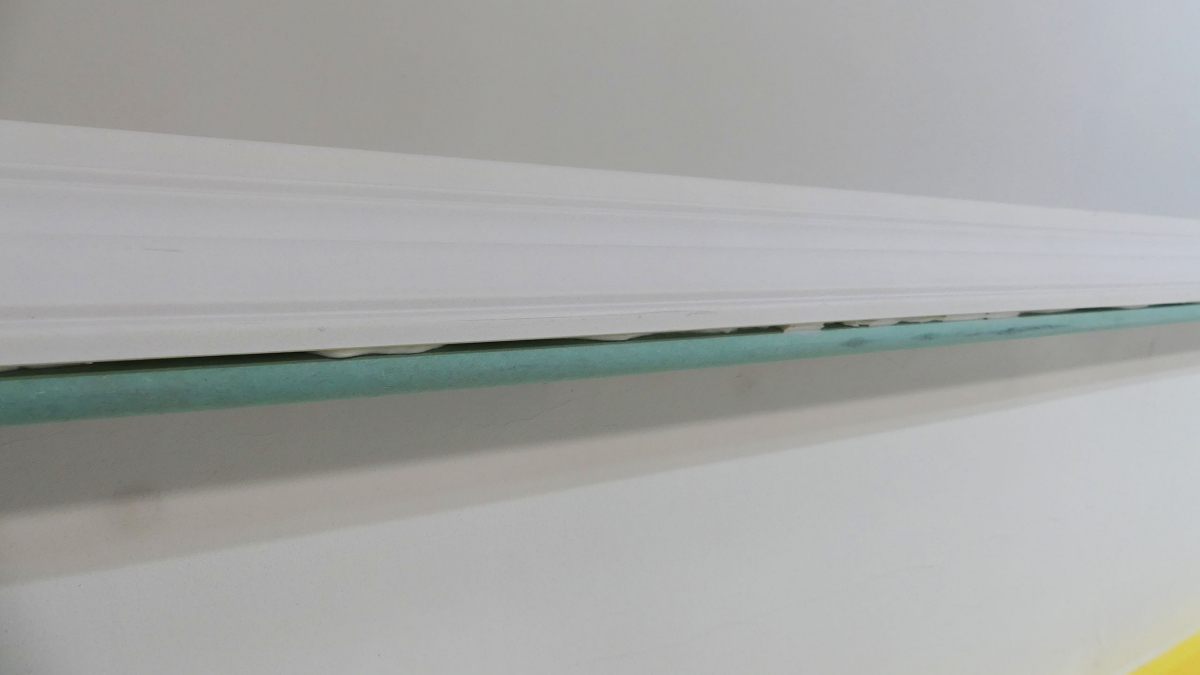
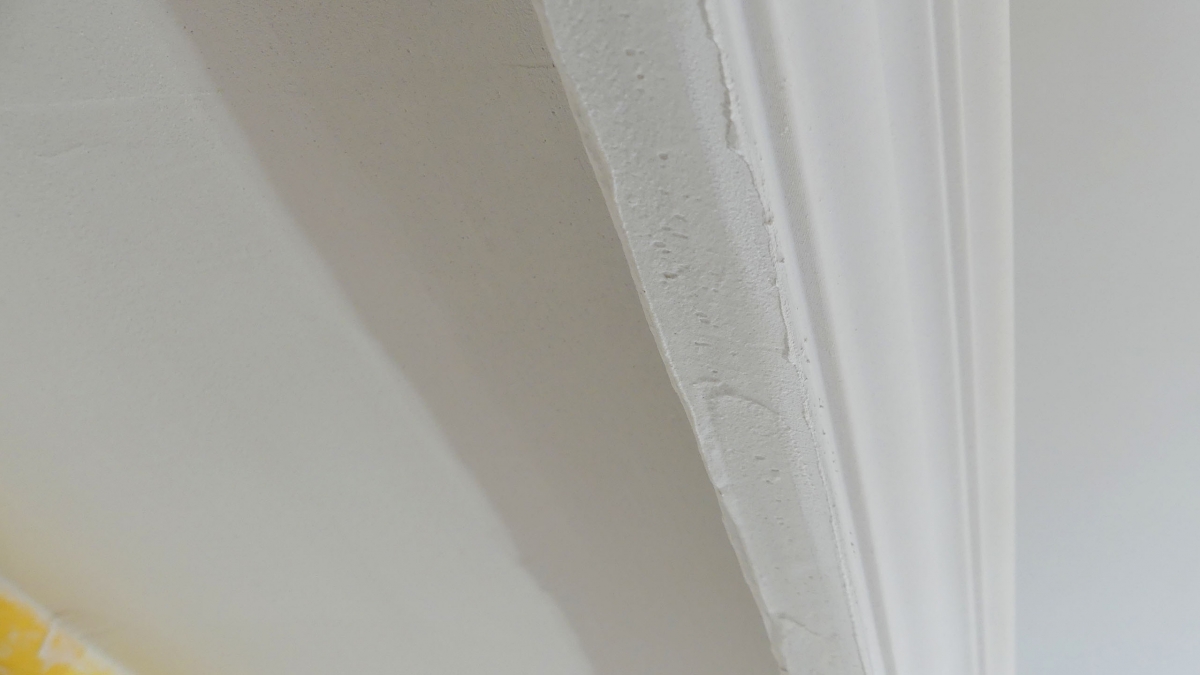
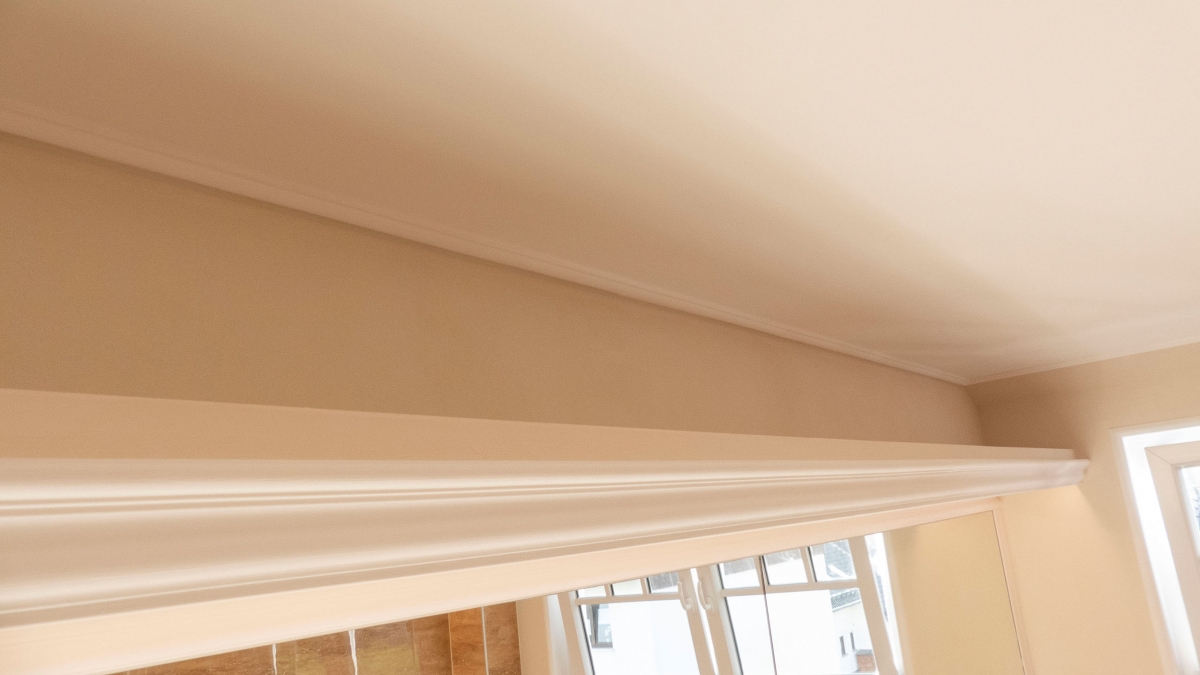
In addition, a stucco profile is glued to the front. That initially creates a gap between profile and gypsum board which is not tragic. The entire construction is later filled and sanded.
Depending on personal preferences the new wallboard can then be further fitted into the room situation. Here, almost everything is conceivable and ultimately decides the personal taste about it – whether modern style or classic with stucco profiles and mirror as further staged here, the limit is your imagination only.
