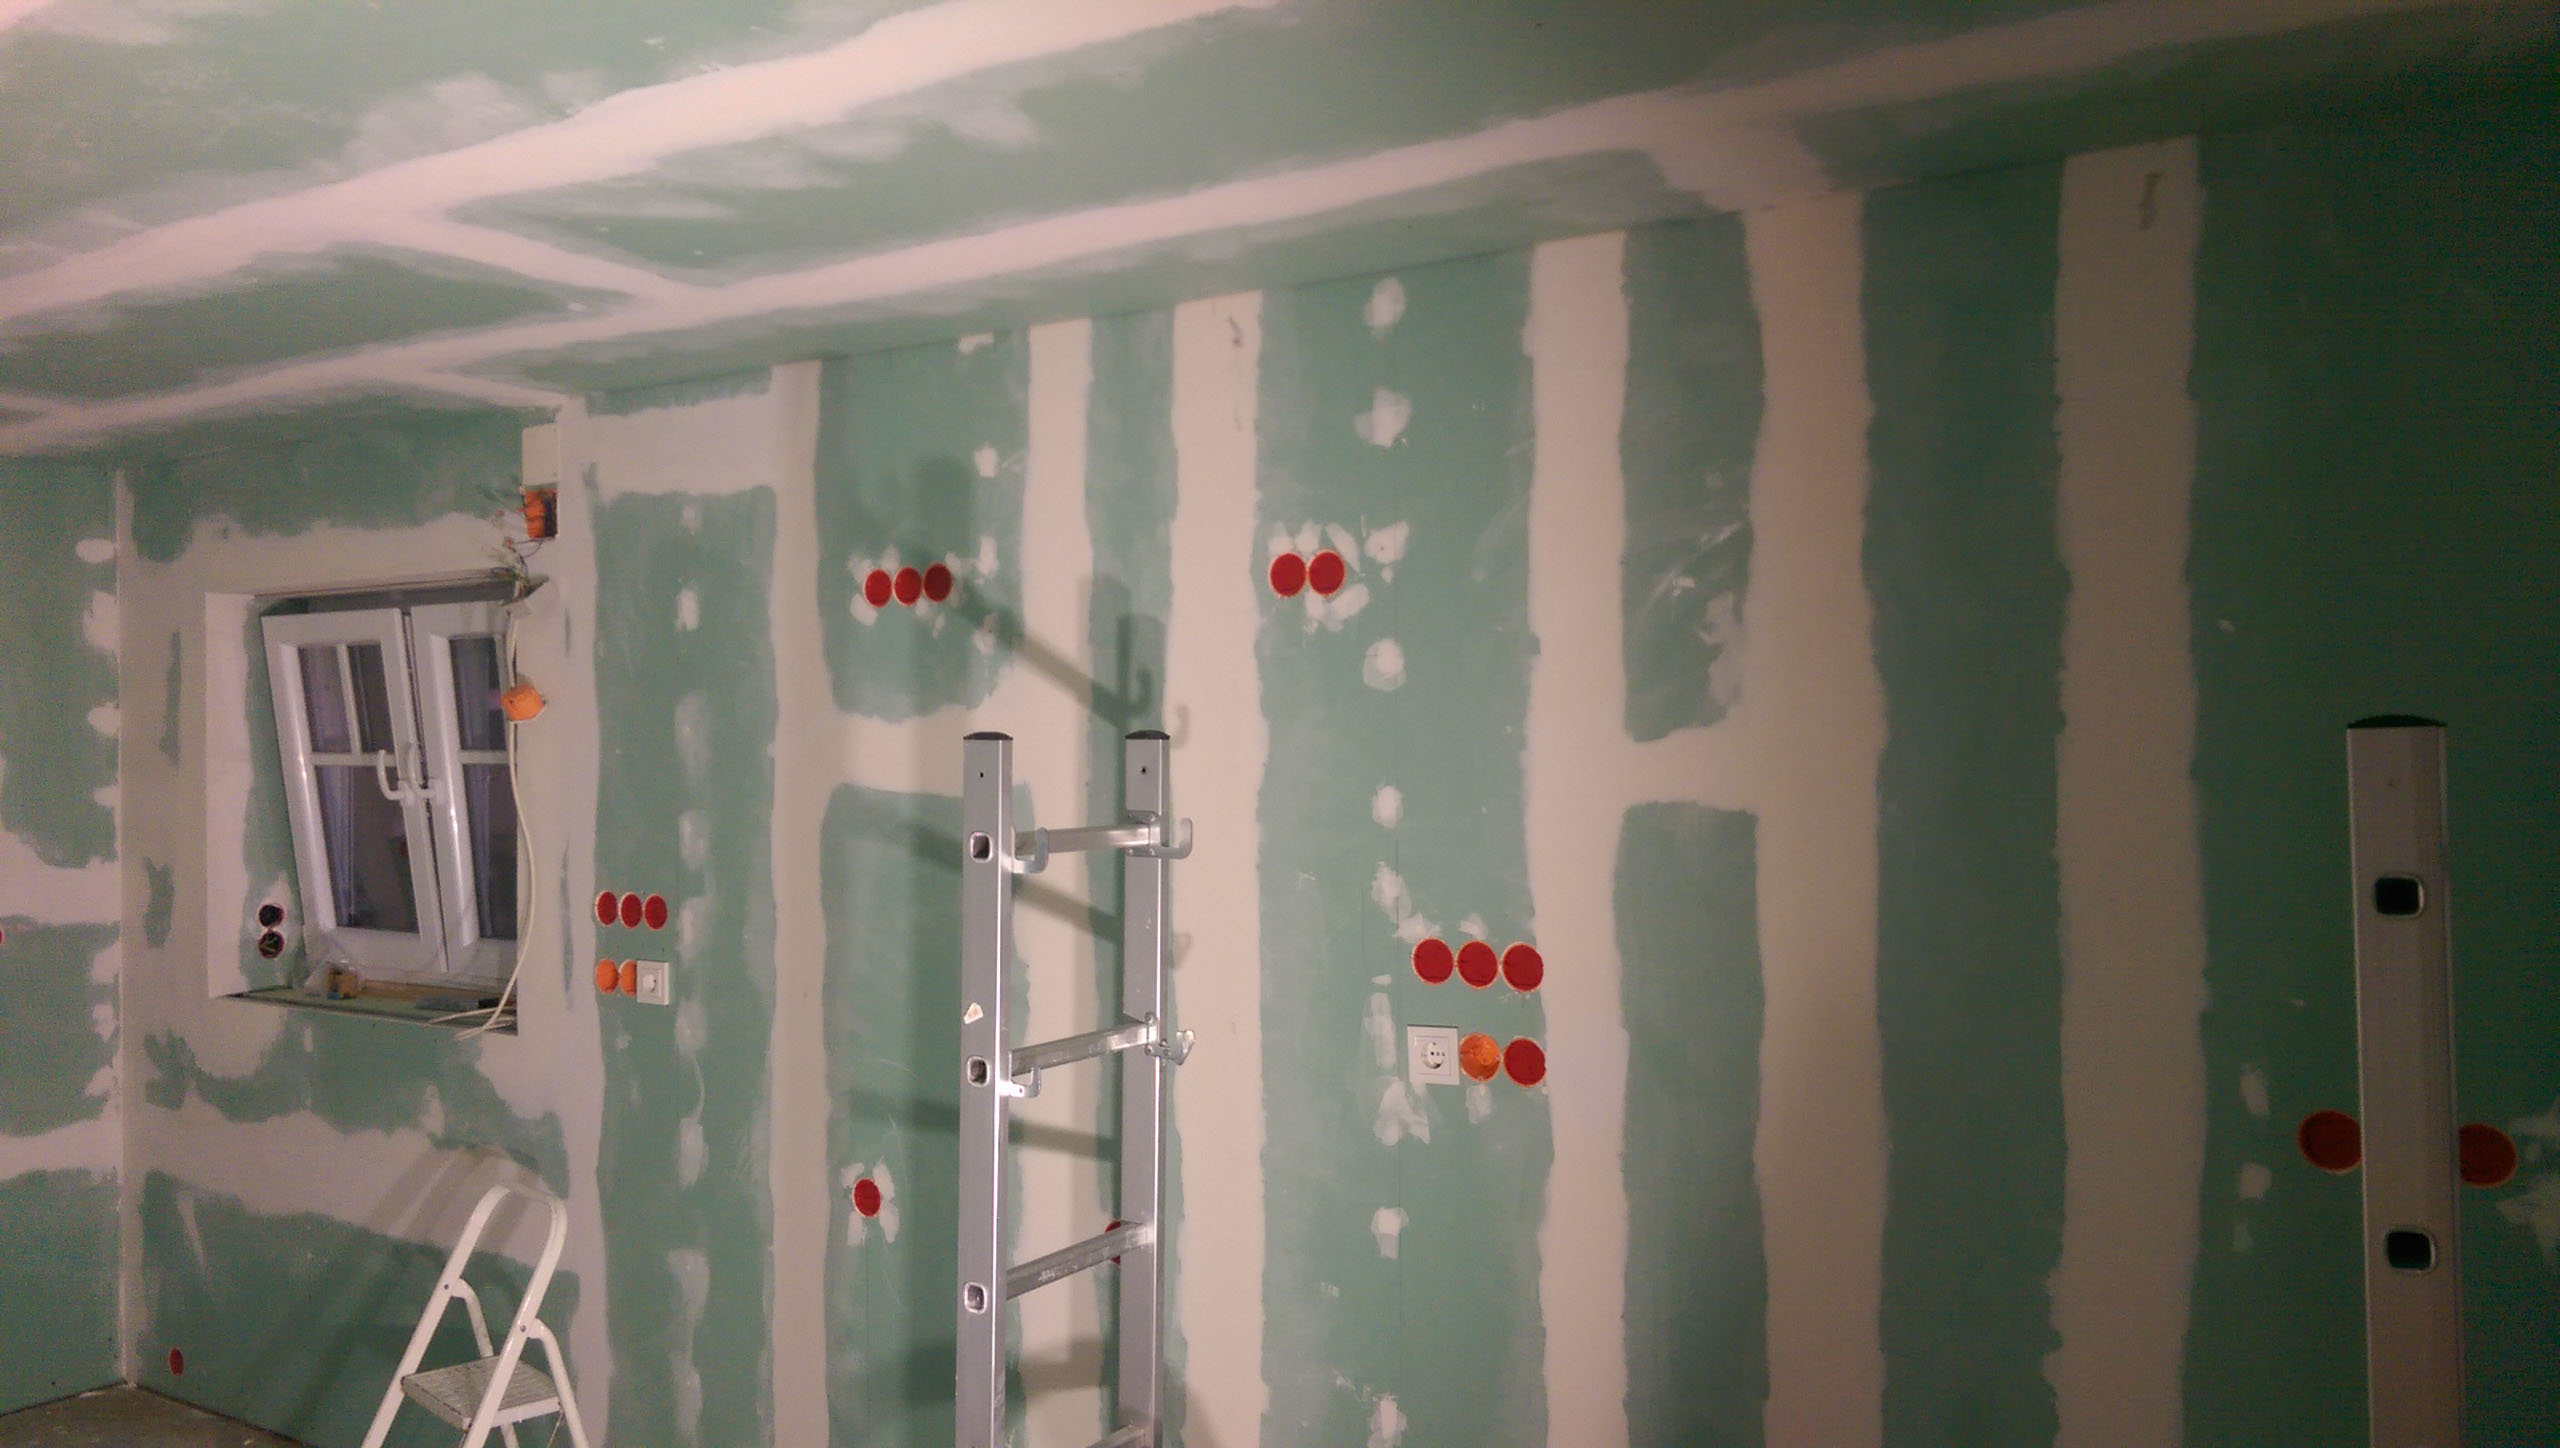
After installing the drywall profiles and finishing the cable laying the planking of the profiles started. That’s fast, in principle. Thereafter, the plate joints and screw points are filled. By the way, a kitchen is not a damp room, so the impregnated panels are not needed. The filler used is not green, but according to the manufacturer it has a release.


Special attention should be paid to the window edges and the passageway. I used Straitflex Midflex 300, a cardboard tape with a plastic inlay which absorbs higher forces than the usual metal edge protection profiles. I used this US made edge protection tape for the first time and got on well with it. The parts around the window edge and the passageway must later get filled by a larger area.


Preplanning also includes to attach a timber to the masonry which later should carry the suspension rail for the closets. The wall cabinets can not be suspended in plasterboard as the only load transfer. In addition, this wall is double-planked to avoid sagging through the wall cabinets and to increase the overall stability. It is recommended to take a dimensioned picture so the exact position of the bar can be determined later.

The room seems so narrow and long – how the overall picture will change 🙂

Then a smooth plaster was applied with the smoothness trowel and then slightly blurred with the facade brush in the cloister. Subsequently the paint was applied to the walls.


The fine plaster actually has only a very light structure, whereby the processing method has a considerable influence on the final result.

