After setting up the furniture and finally aligning the kitchen cabinets the back wall of the hobs can be tiled. It is helpful to build a lower support surface which is slightly higher than the later worktop. Since the countertop is 40mm thick and a defined gap is to be included in the calculation a measurement of 45mm makes sense. If the lower tier is aligned and tile spacers are used a laser is not mandatory. He serves here only as optical control for the lower rows of tiles. The adhesive used here is a ready-to-use dispersion adhesive out of the bucket. The tile used is a closer Sof the brand Ströher with used look optics. The used look underlines the “fireplace character” of the hood.


It must be emphasized that the walls must be prepared carefully before tiling. In particular the ground has to be absolutely even. The area to be tiled within the wide stucco profiles was once again leveled off and sanded. Later a glass sheet is mounted in front of the tiles by means of special glas holders. It is therefore important that the tiles have the same “height level” with each other and no tiles sticking out somewhere over another. If the wall has been prepared carefully and the adhesive is applied with the notched trowel leveling is not a problem.
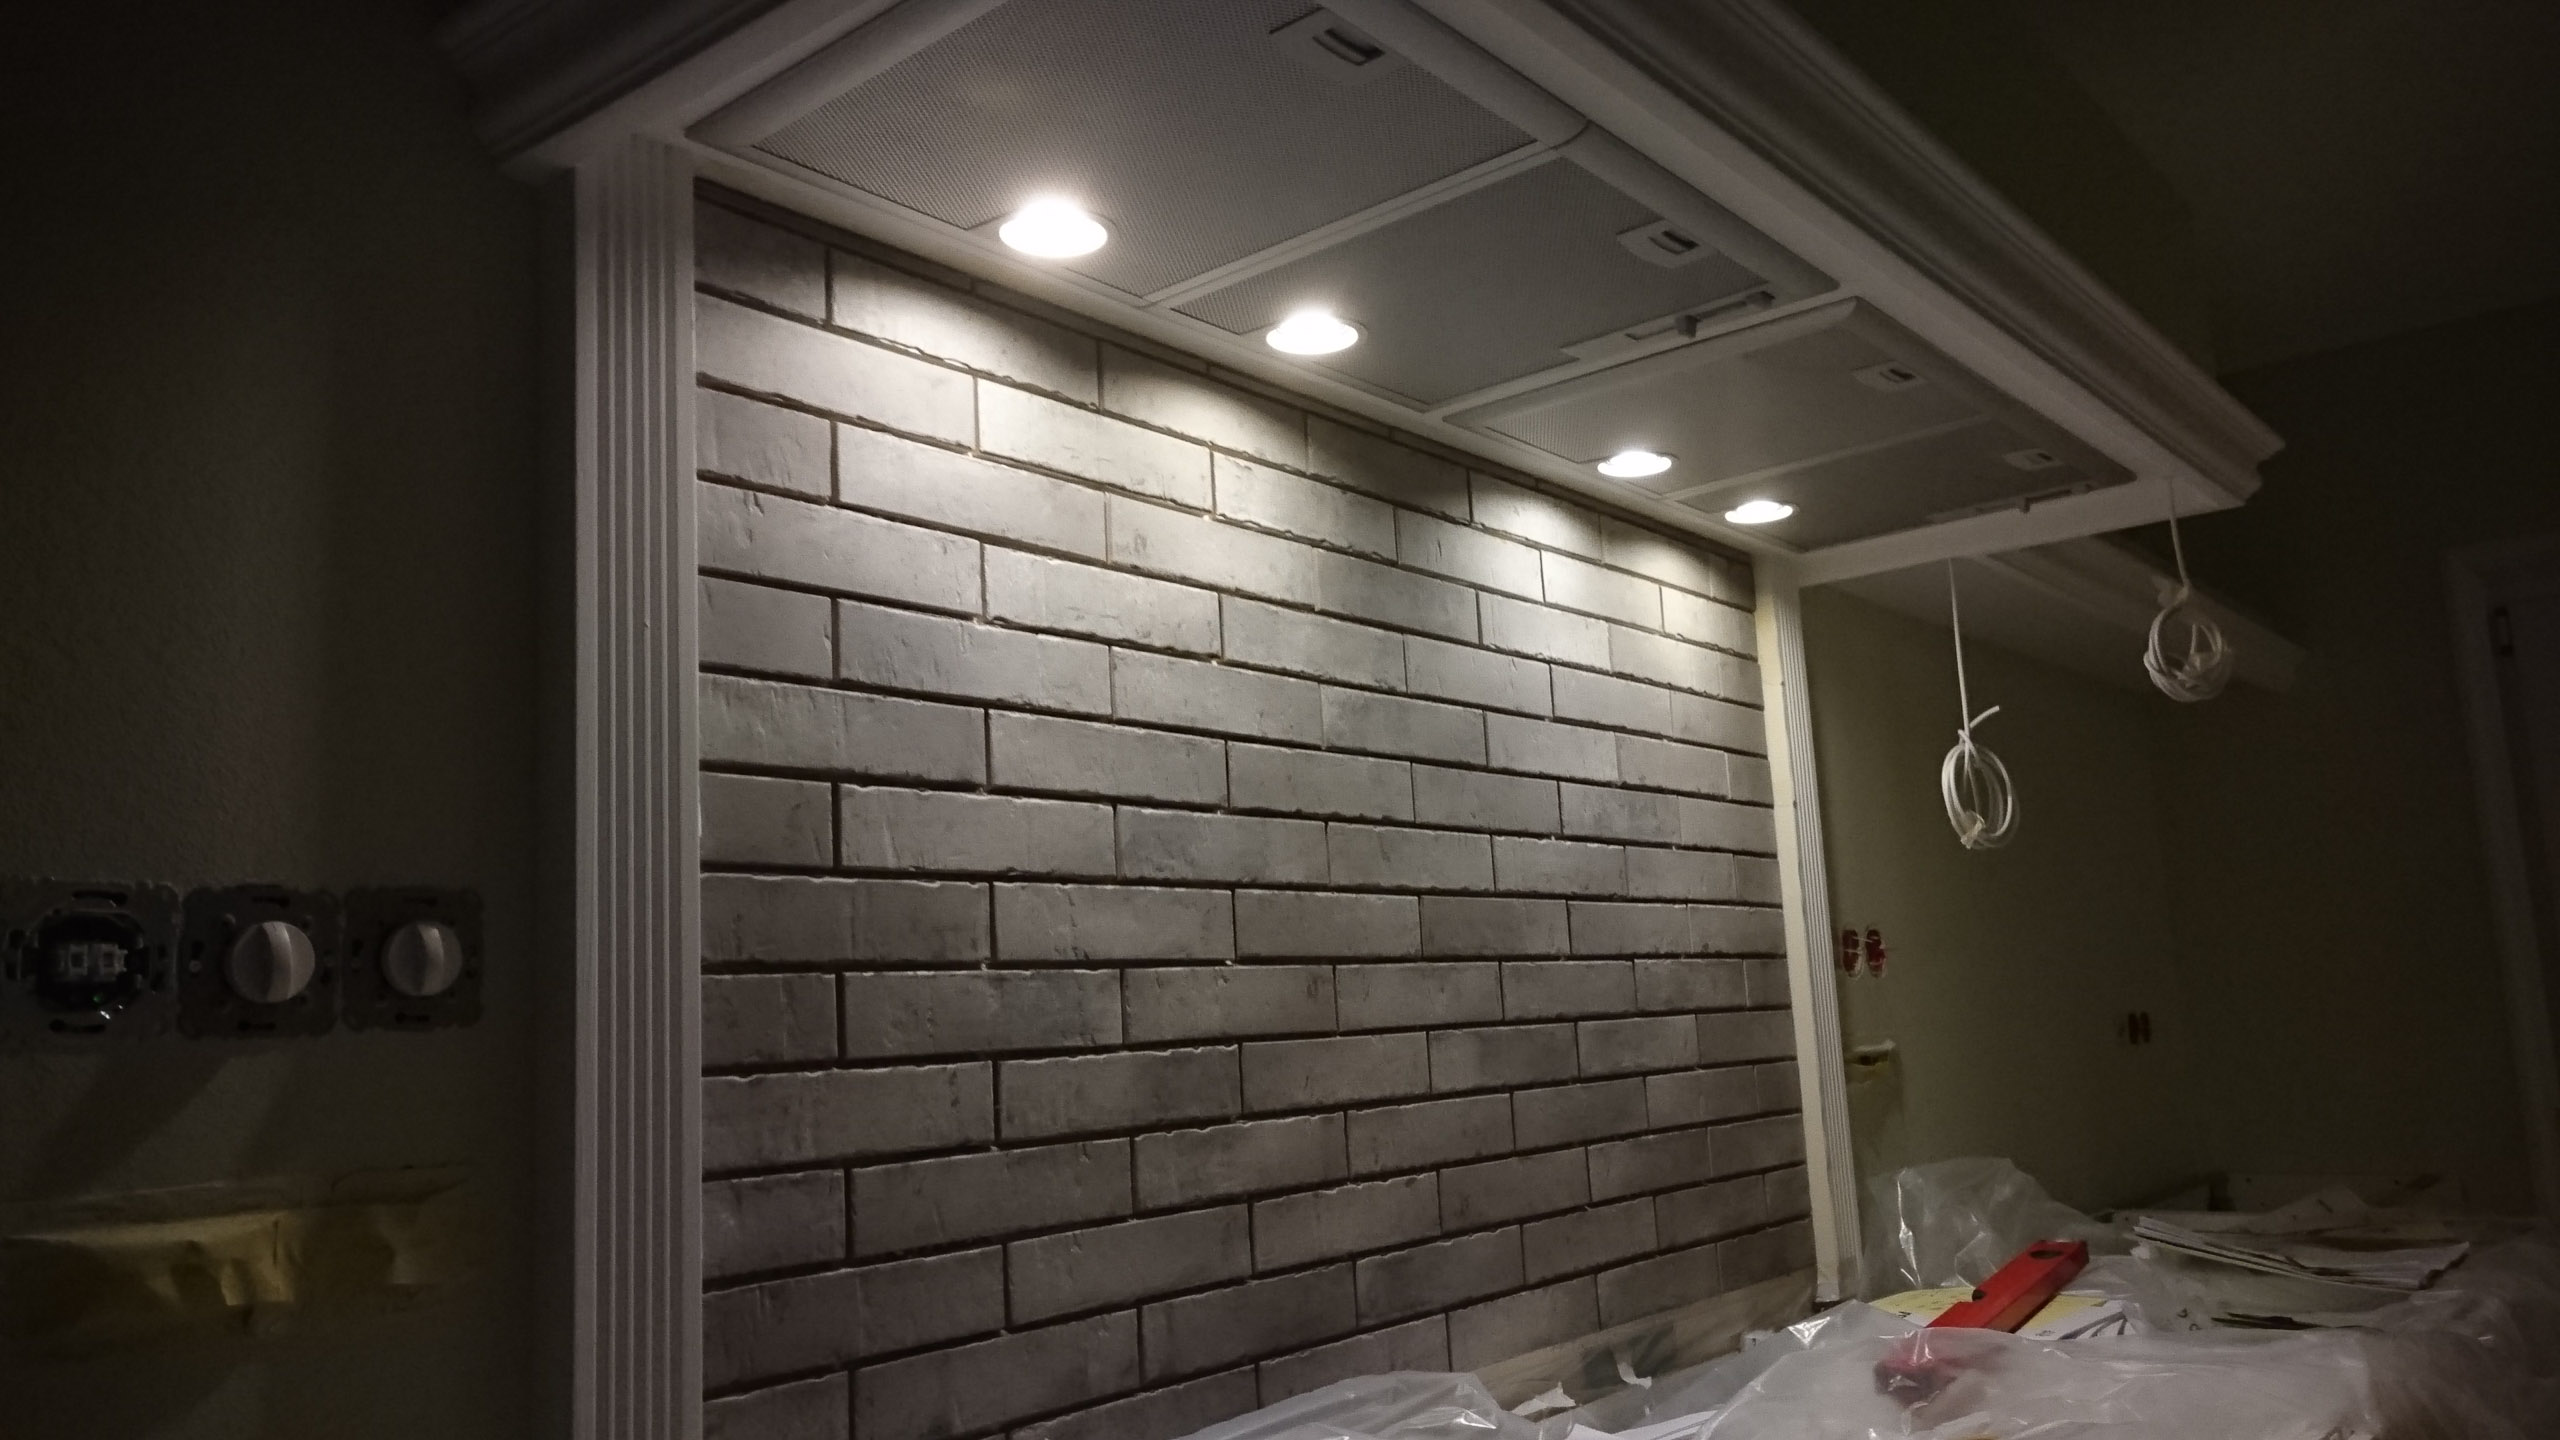
Even ungrouted the whole image looks set with lighting already pretty good!

For the grouting a tile washing set is quite helpful. This consists of a bucket with dispenser, a washboard and a board for grouting (with rubber coating).

The grouting itself is a breeze, but the joints look quite “new” and smooth, which does not quite match the overall character of the used look of the closers. Therefore, the joints are trimmed after light “tightening” of the joint material with the brush to “used” optics.


Finally 8 holes for glass holders have to be drilled in pre-set positions with a diameter of 10mm. The Ströher tiles proved to be harder than granite – without a diamond drill bit nothing is to be done here. Although the normal tile and glass drills are suitable for scratching the surface and thus creating a guide for drilling the hole itself must be made with a diamond-set drill bit.


The last step is to mount an 8mm thick glass in front of the tiles. Depending on the direction of the light, the glass in front is not recognizable as such. In any case, the tiles are optimally protected against soiling of everyday kitchen life by the glass pane.


