After the walls and the floor are ready so far, it is up to building the furniture. I will not show here in detail how to build the METOD furnitures as it is a breeze with the well-documented assembly instructions from Ikea. Just one tip: be sure to use the mounting rails as this will make rowing and aligning all carcasses extremely easy. Before building a runway is taped and the room is cleaned thoroughly. In addition, the cable outlet boxes for the base lighting of the kitchen cabinets must be prepared or wired.

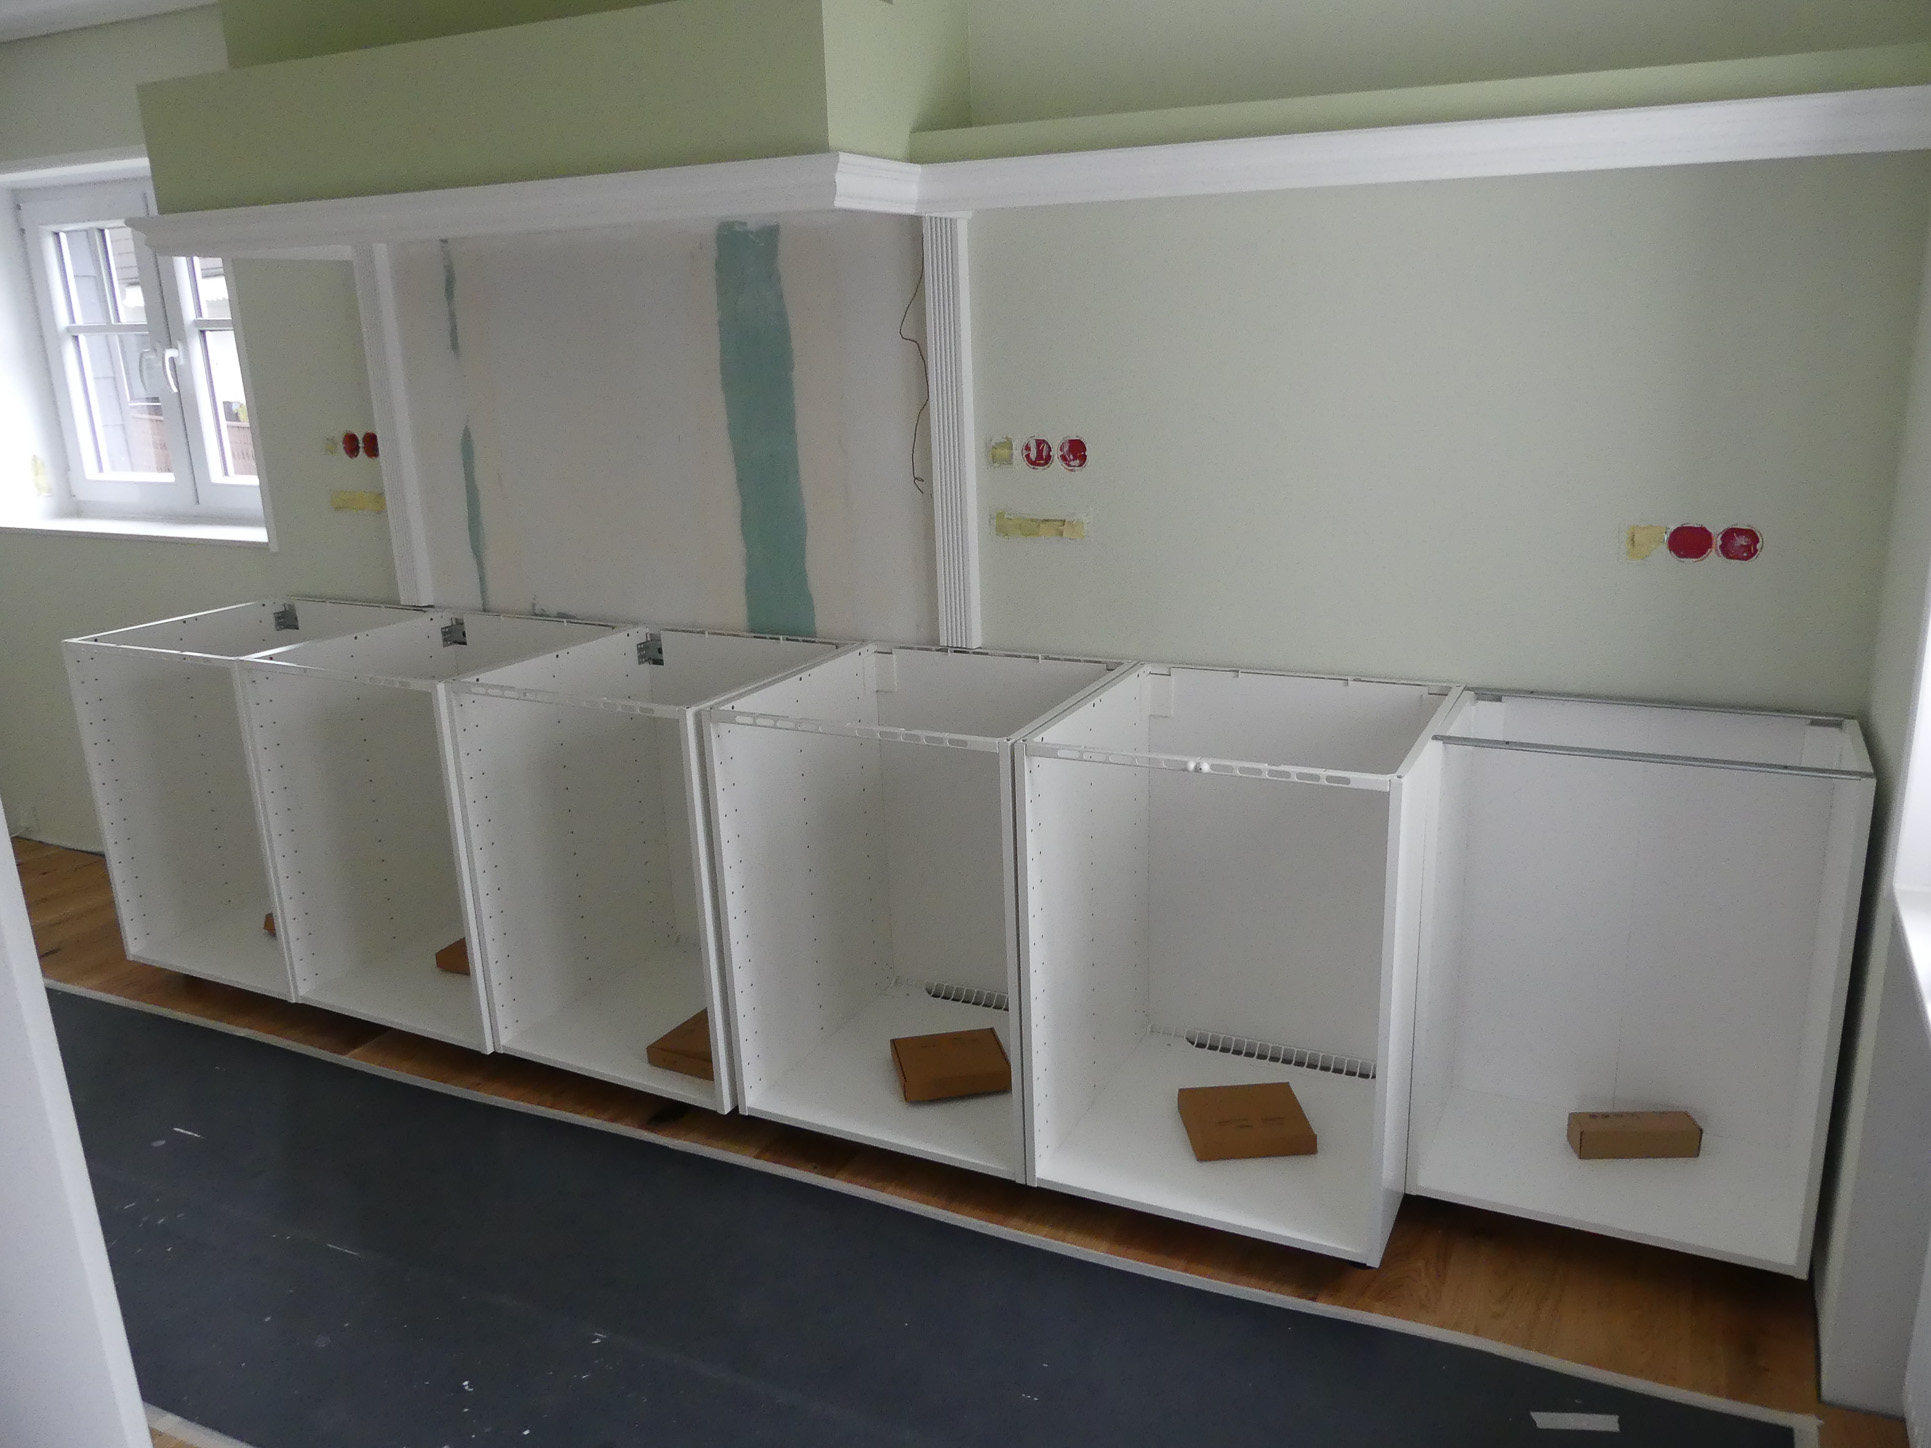
The METOD base cabinets are then gradually built up and brought to their position.


Then they will be screwed together using furniture connectors and aligned. One or more long aluminum slats are very helpful. After aligning the covers, the drawers are mounted.


The most tricky parts, and I’ll talk about them in particular, are the parts to the right and left of the row of cabinets underneath the wall cabinets (picture directly above). The situation is aggravated by the fact that the dishwasher is located on the left-hand side and this does not actually have a funiture carcass – here no worktop can be placed or a pedestal can be fastened. The simplest and best solution was to build corpus dummies which fill in the gaps on the right and left. From chipboards the two gap fillers were built.


The furniture carcasses built in this way are screwed onto the same pedestal bases as the METOD base cabinets. Ikea has an advantage here: All parts are easy to buy in the furniture store. So just go to Ikea and get another packet of METOD Legs. The gap fillers can now be adjusted in height, so they have the same level in the end as the METOD base cabinets. Btw the dummies can have a slightly shorter total meassure in height as the reagular METOD furnitures. It is only important that you set the cover panel correctly in one height with kitchen front side – it is very easy to do.
There is another trick: As you can see in the picture above only one of the METOD Legs is fixed by screws. You simply do not fix the METOD leg near to the front of the dummy so you can move it later to the correct position when the dummy is on its position. The correct position of the leg is to choose so that the FÖRBÄTTRA Plinth can be attached in one line to the Plinth at the METOD base cabinet frames.
In addition, the worktop can be placed on the left side stable. At the front are tailor-tailor-fitted cover pages screwed, it can be as simple as that. On the left side also the side-cover is screwed to the dummy body, because nothing can be attached to the dishwasher.
