After the demolition of the old kitchen, including all the old plaster walls, the removal of a wall, the balancing of the floor and the new insulation of the insulation of the ceiling the preparation for the reconstruction of the walls was back on. Ceilings and walls were realized in well-known drywall stands by means of corresponding metal profiles. In some places the stand distance was set lower than usual in order to ensure greater stability. In this case a sufficiently dimensioned installation level was planned (distance to the shell walls). It also makes sense, especially in such a large electrical installation, to create the cutouts for the switches and junction boxes step by step with the planking. Otherwise the cables may no longer be able to be drawn into the switch boxes / junction boxes. We’re not talking about two, three cables here, but a few more.
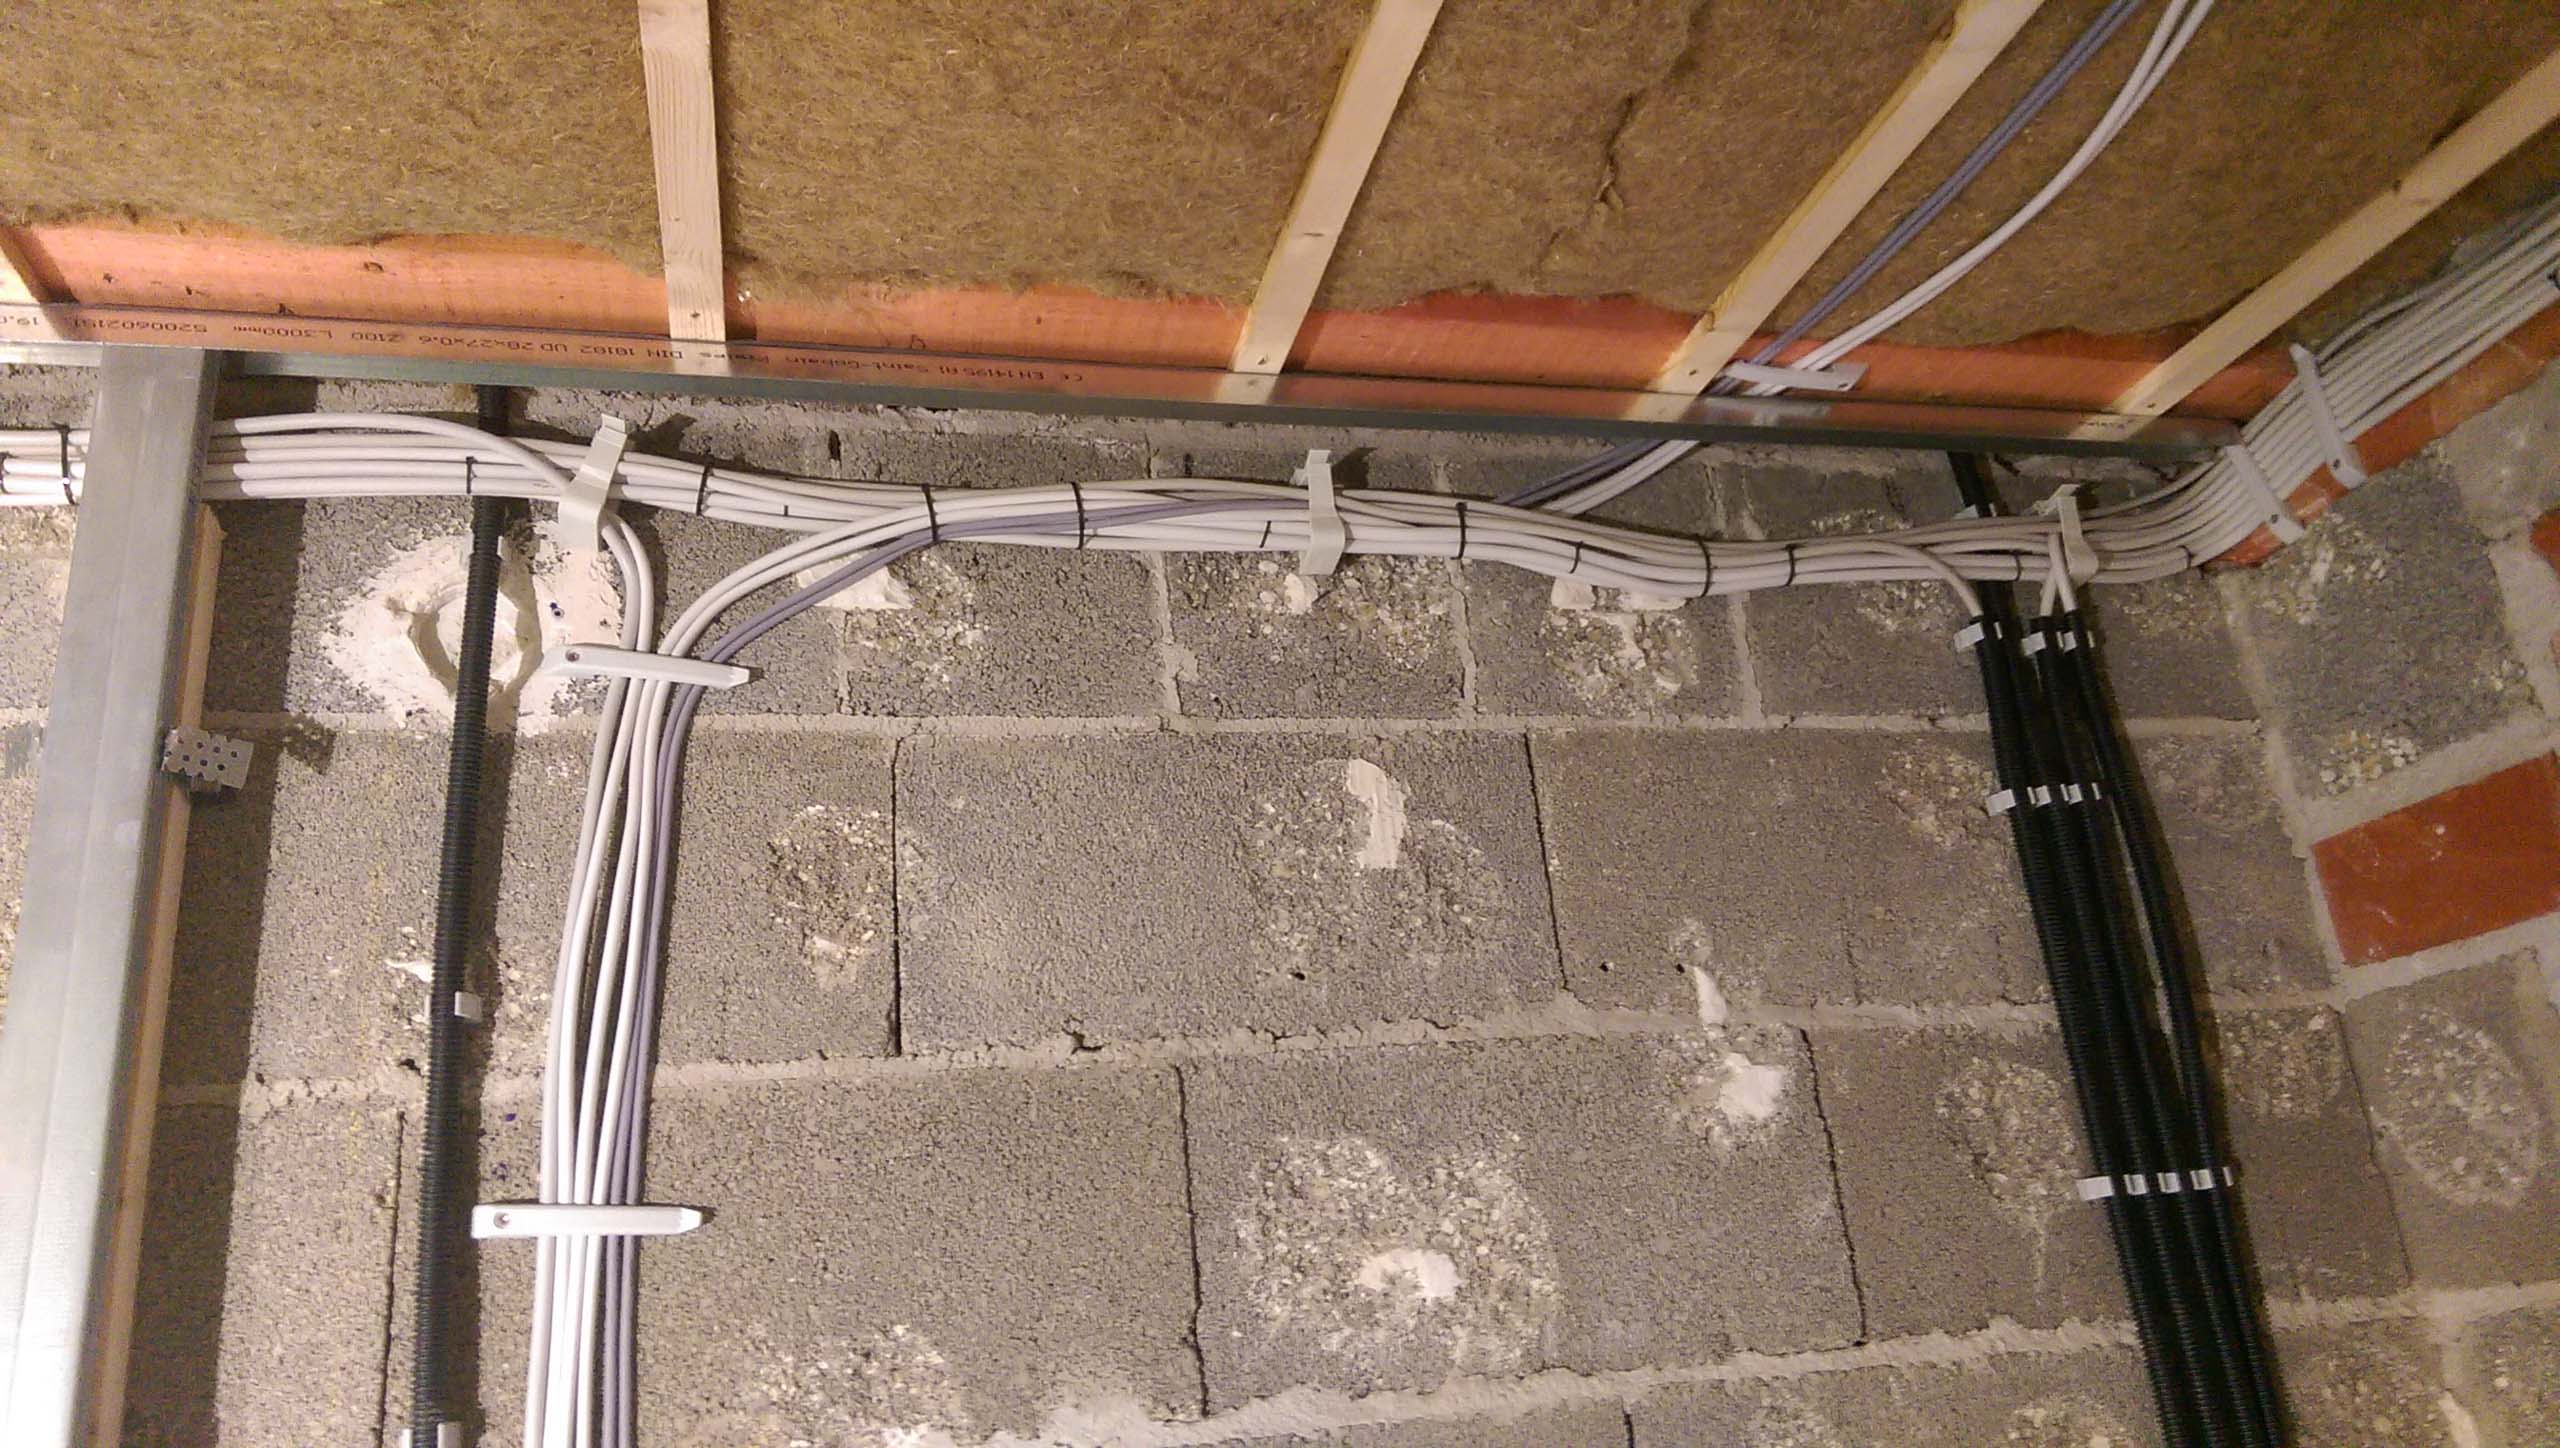
In a first step the electrical installation was created on the shell walls and the ceiling. Here more than 250 meters of cable were laid using different laying methods. With such an amount of cables labeling each cable at both ends is mandatory. In addition, the cables should also be labeled in the junction boxes. It is the principle that the installation must be comprehensible for third parties. In addition, you do not want to lose track of yourself.


