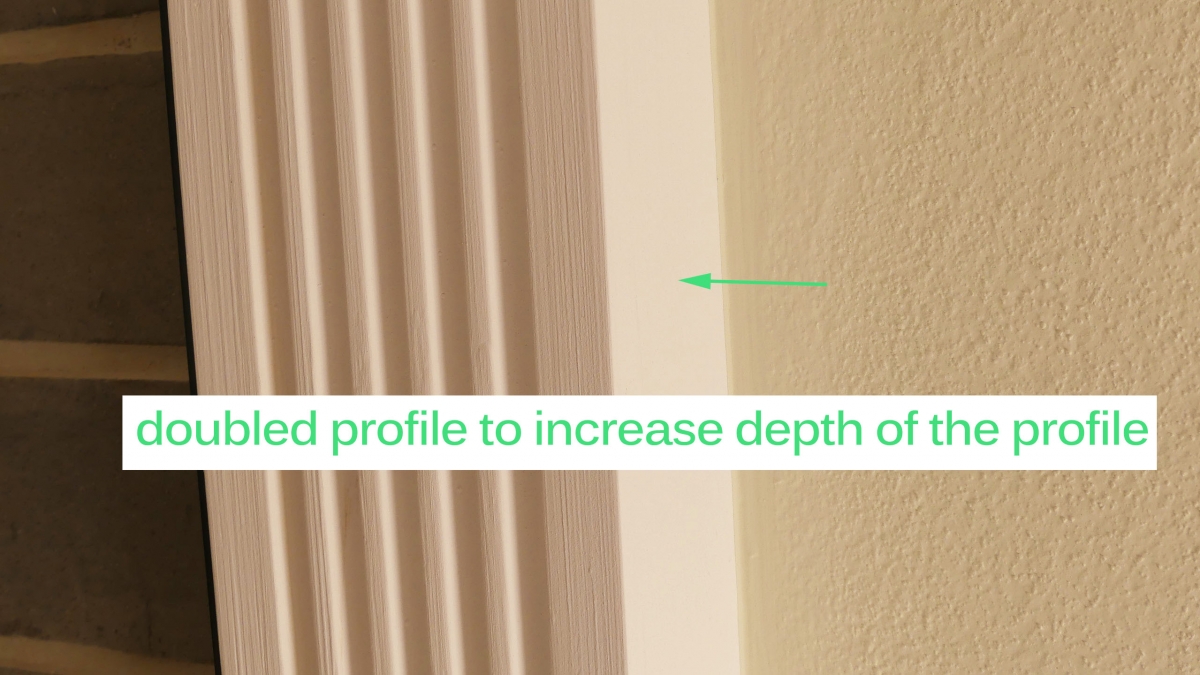
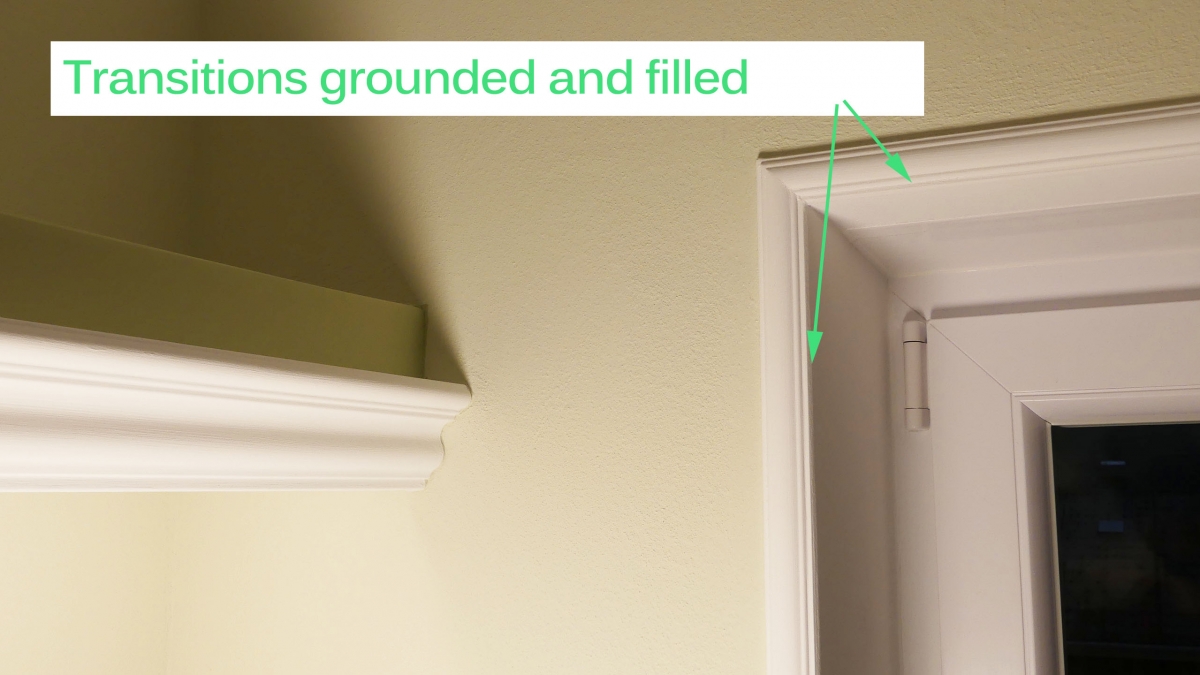
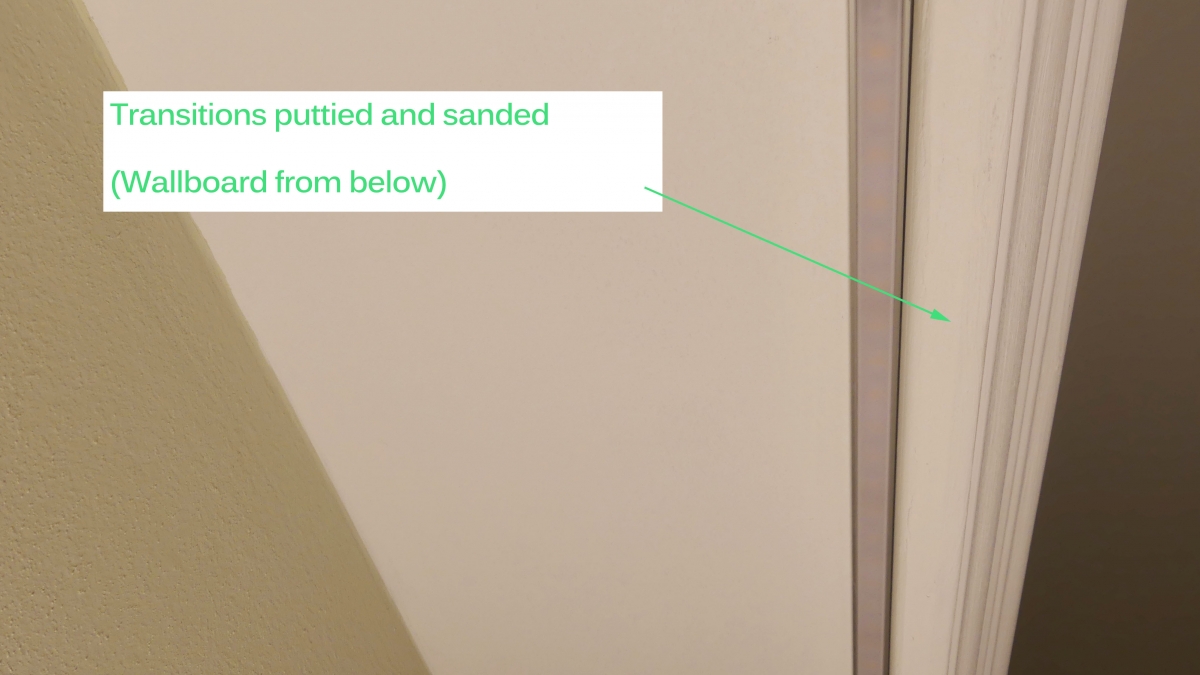
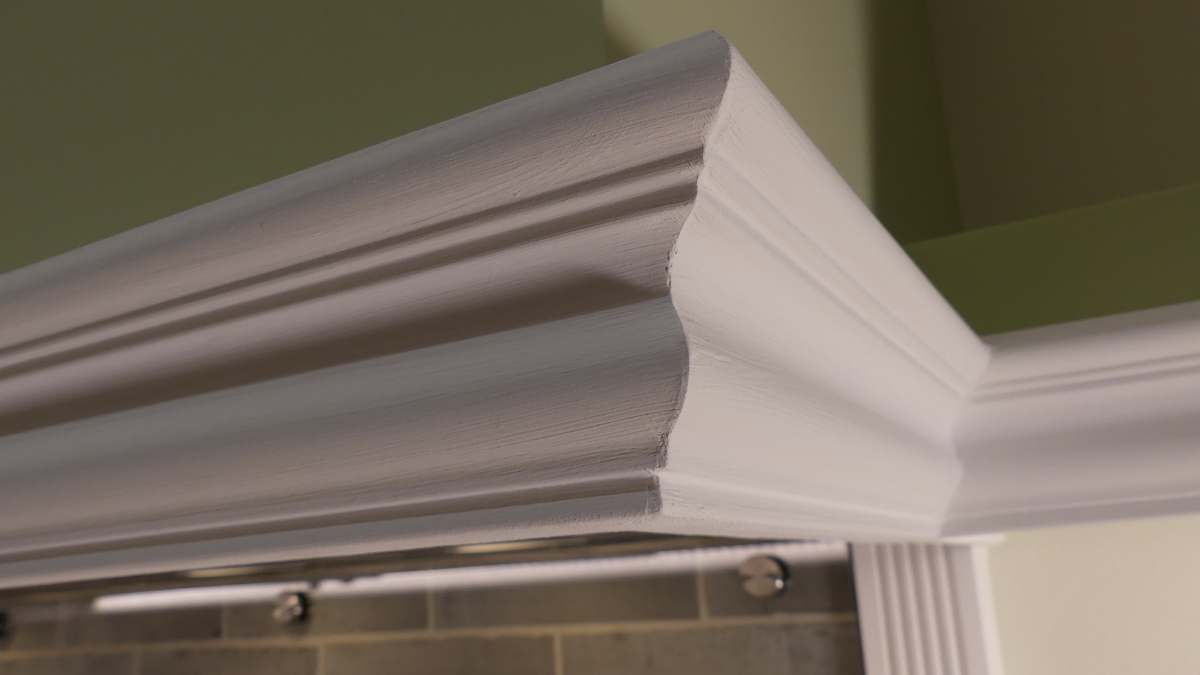
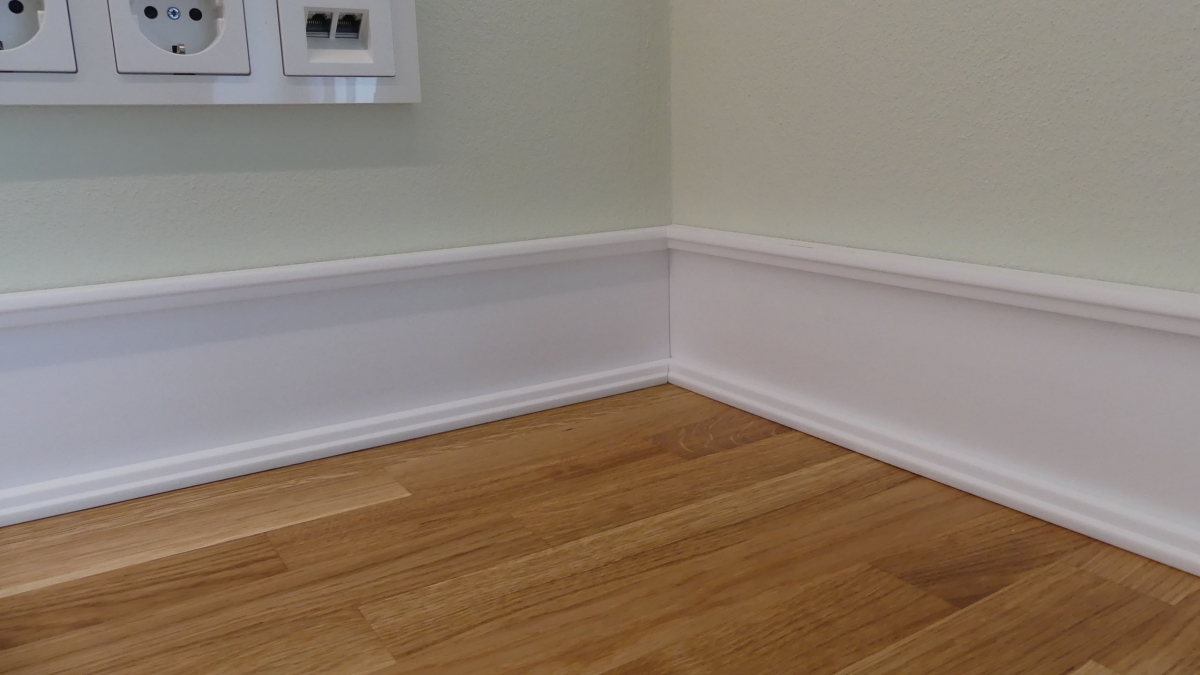
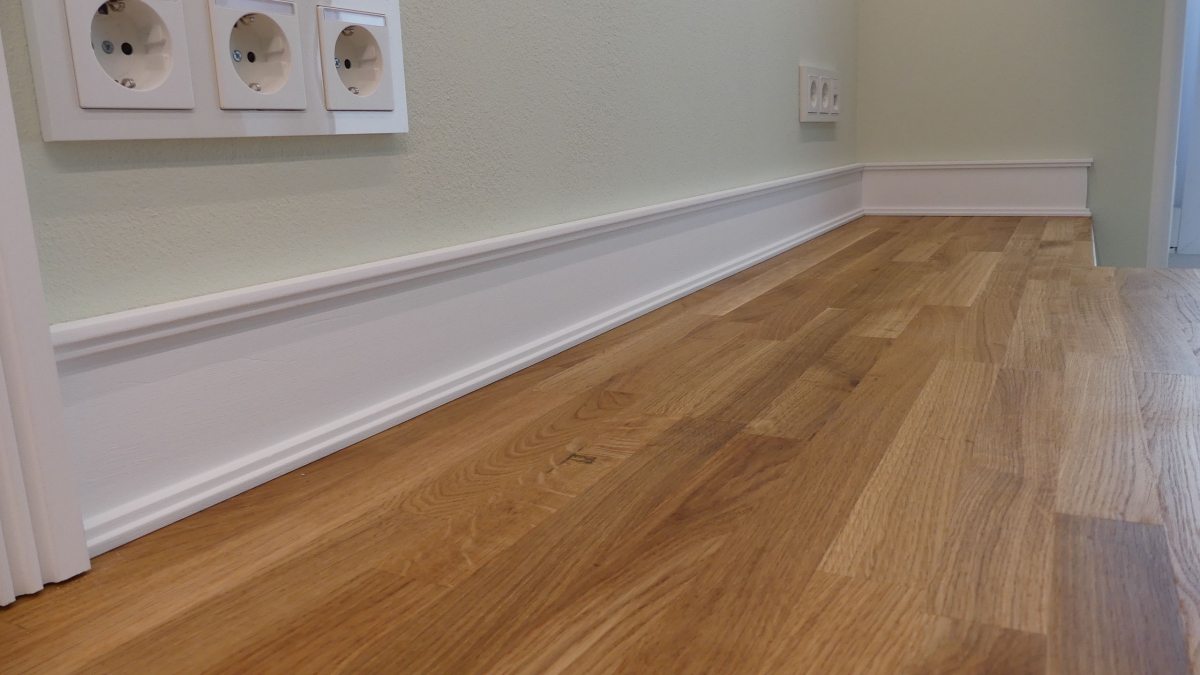
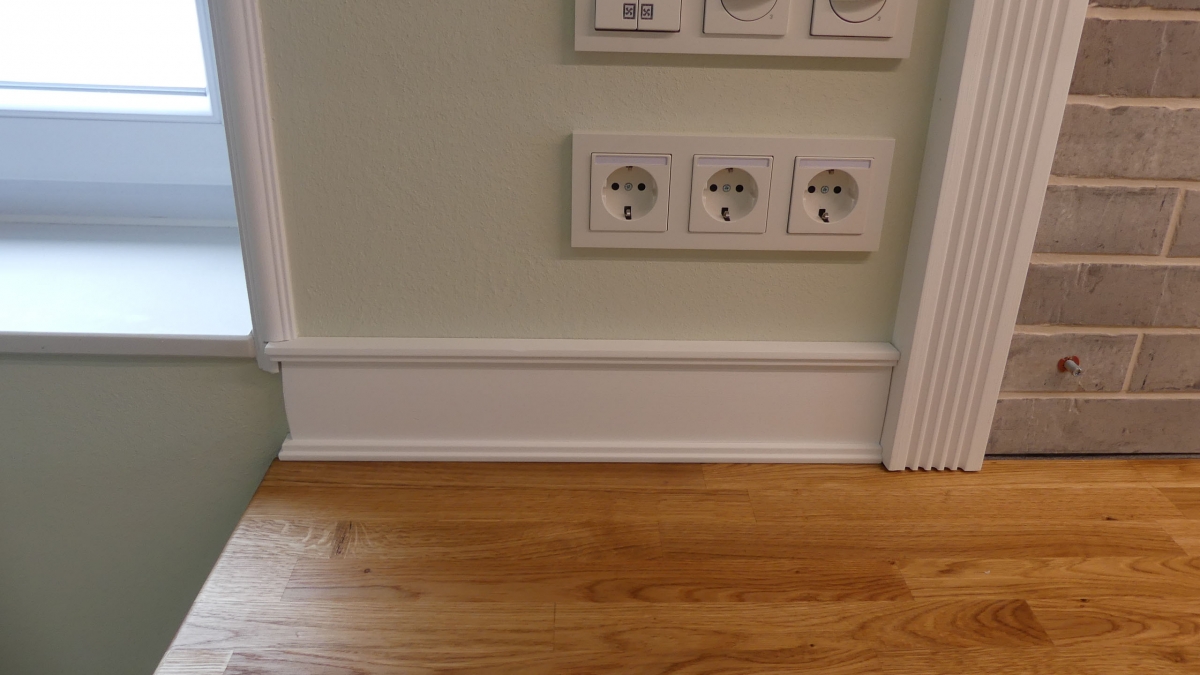
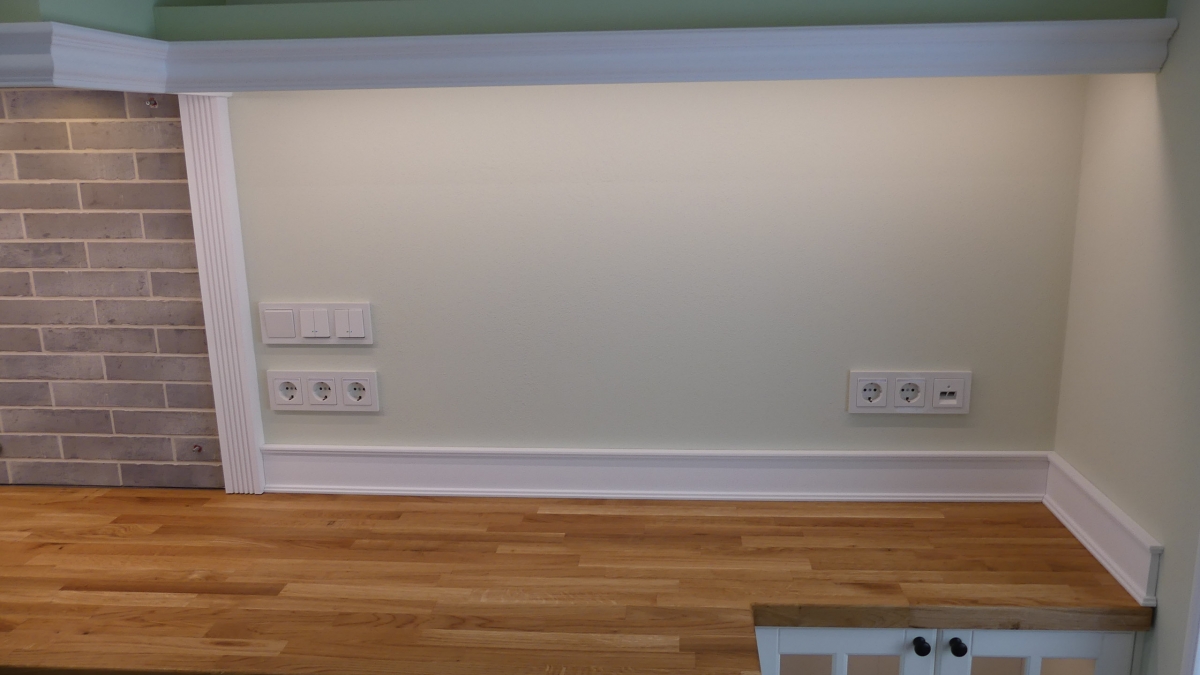
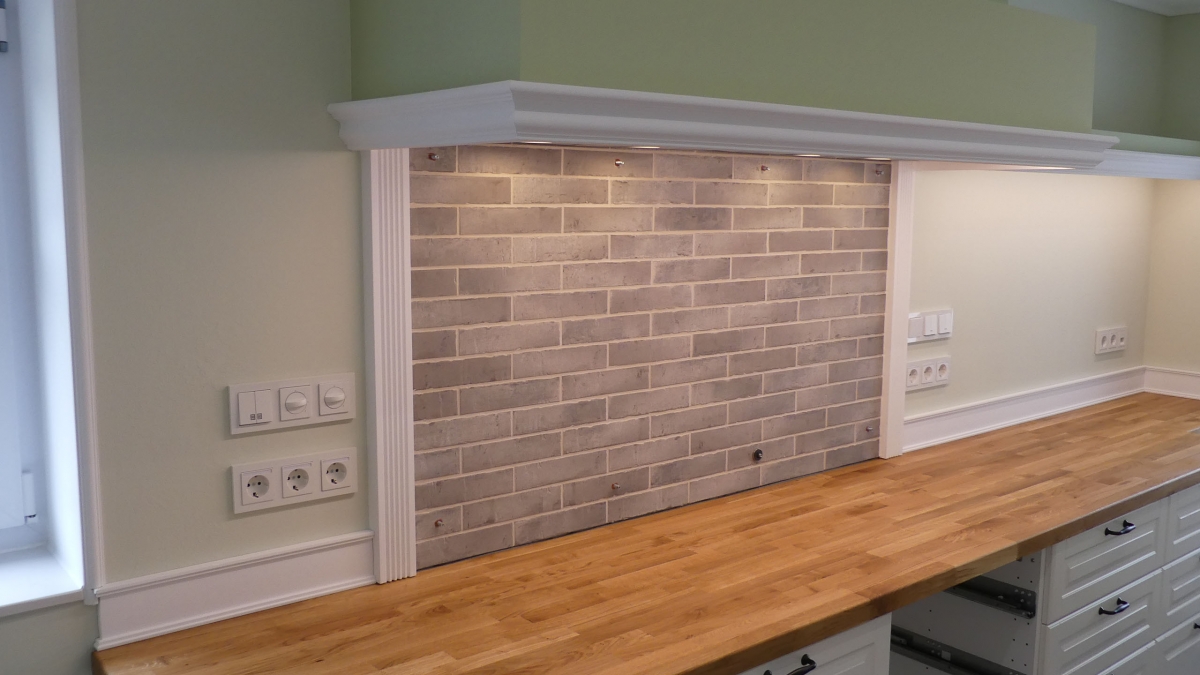
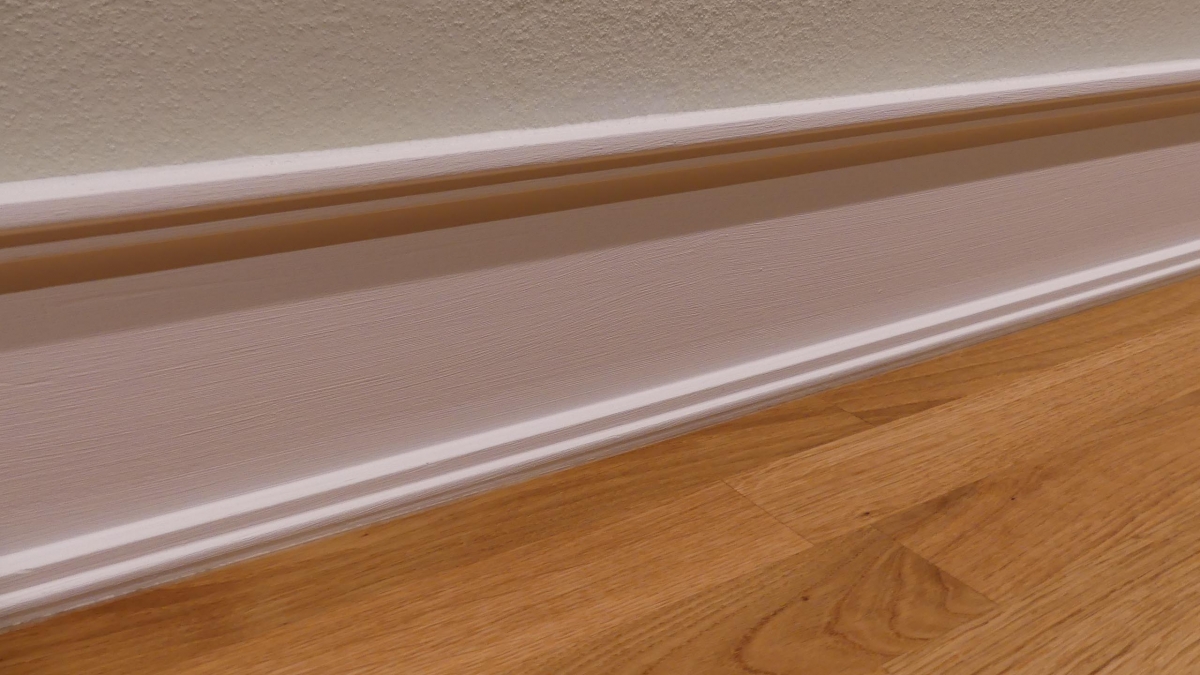
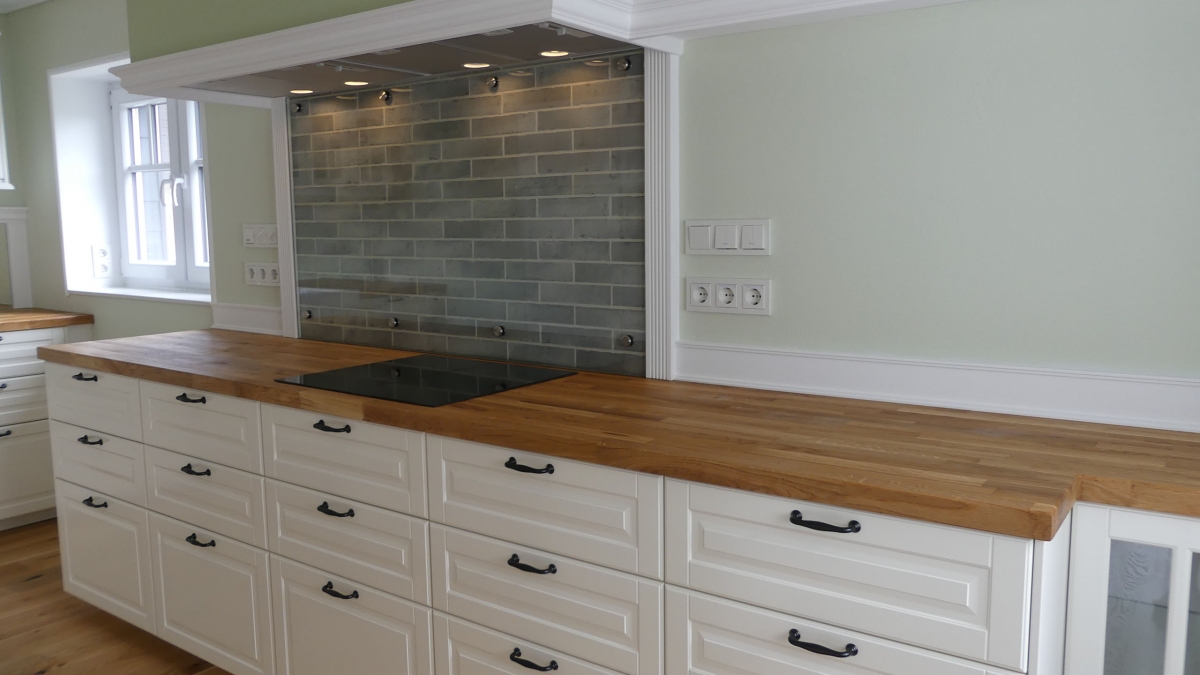
The stucco moldings made of polyurethane and polystyrene enhance the space and the kitchen to a considerable extent. Most stucco moldings must be installed before the kitchen is installed. As a rule, the stucco profiles made of polyurethane must be partially plastered after sanding and then sanded so that the transitions to the wall look perfect. This is especially the case with the edges of the windows, with the cornice profiles for the extractor hood and the wallboard and with the pilaster-like columns. In part, the pilasters were doubled, i. to achieve a certain thickness, a plasterboard was glued to the back. The gap to the wall must then be filled (tip: Ardex 828) and reground so that the profile later appears from a single cast.
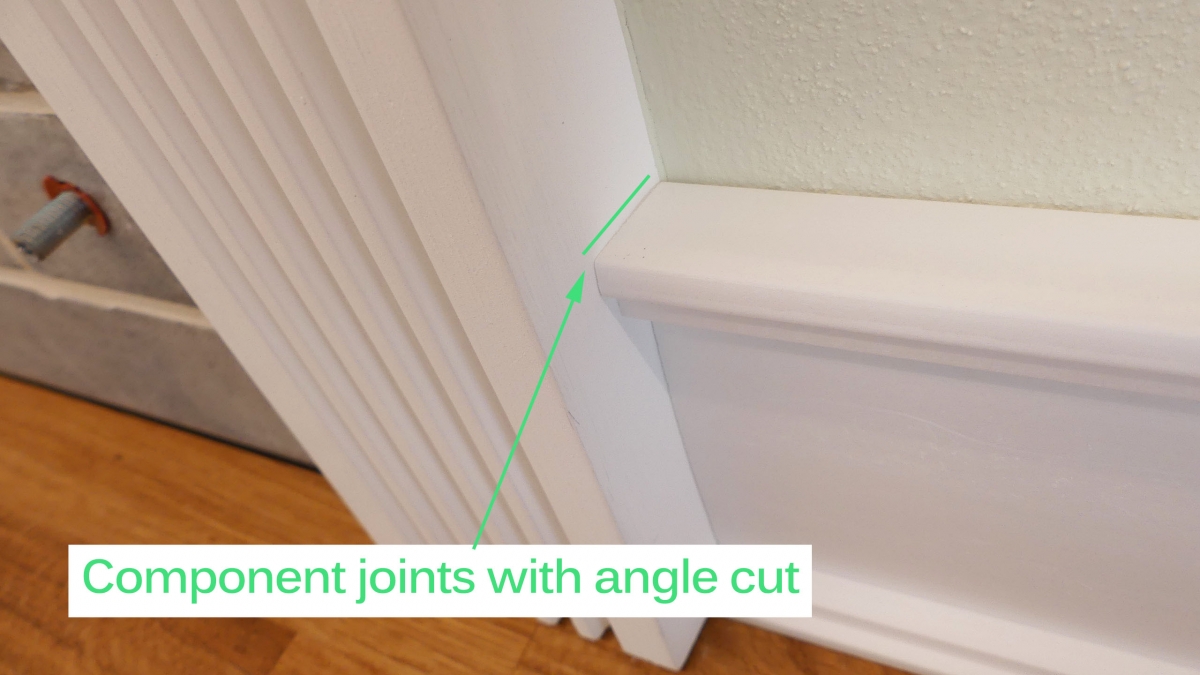
With a good chop saw you also get miter cuts where imperfections of the cut do not have to be covered much. Tip: The stucco profiles must be cut on an electric chop saw (here Metabo KGS 254M). Only then can the profiles be adjusted millimeter by millimeter if necessary. In addition, when joints of different stucco profiles with each other in which the edges of the profiles are not straight angle cuts should be performed.
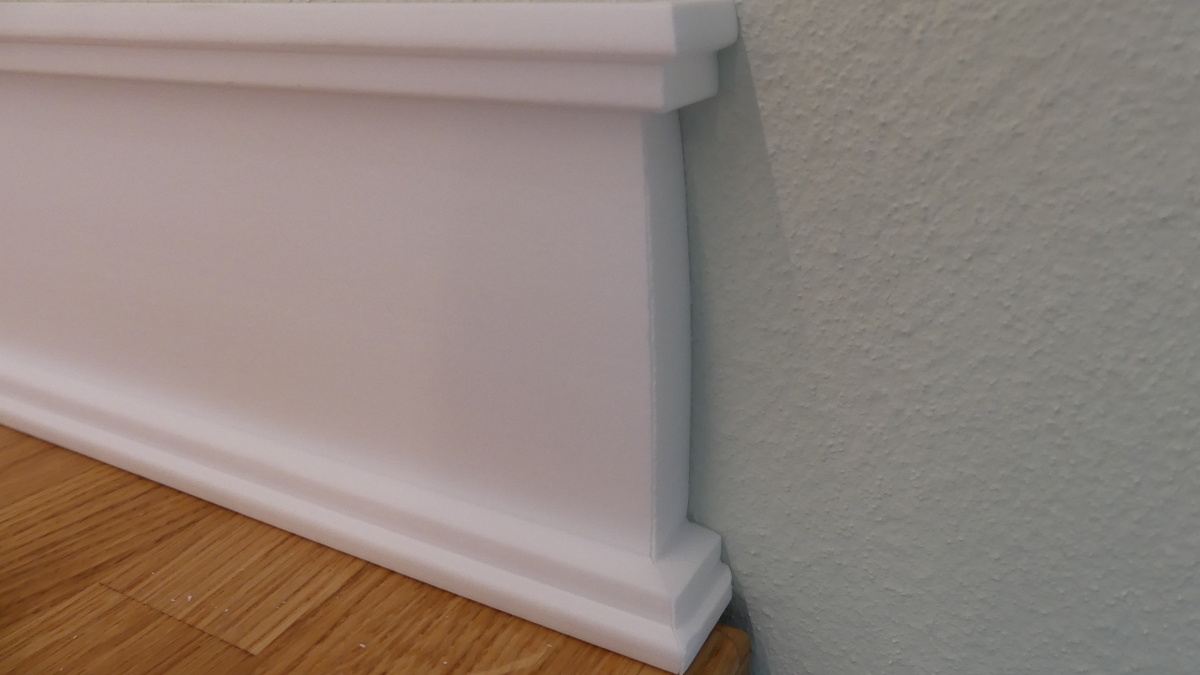
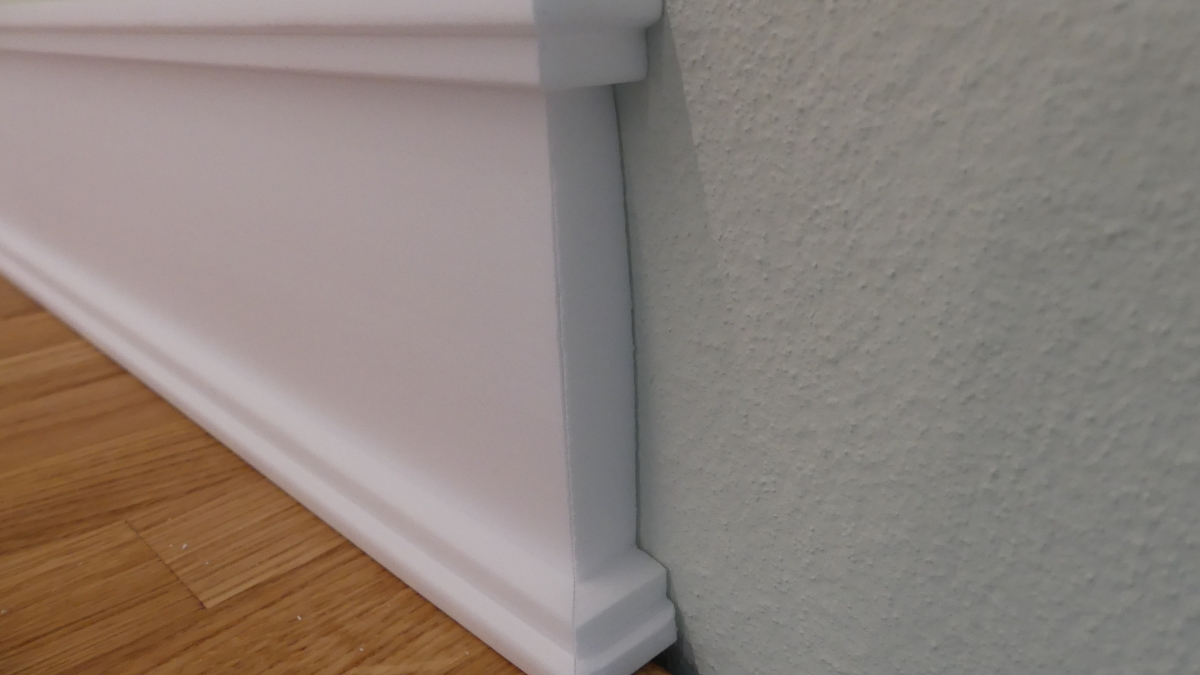
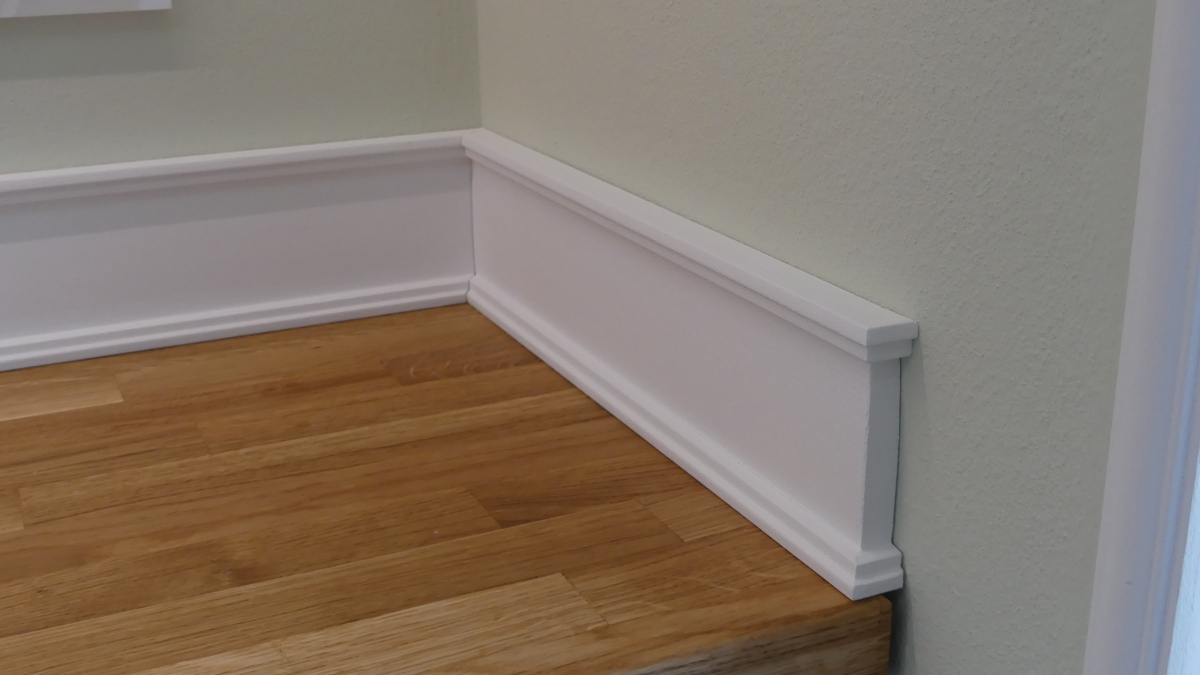
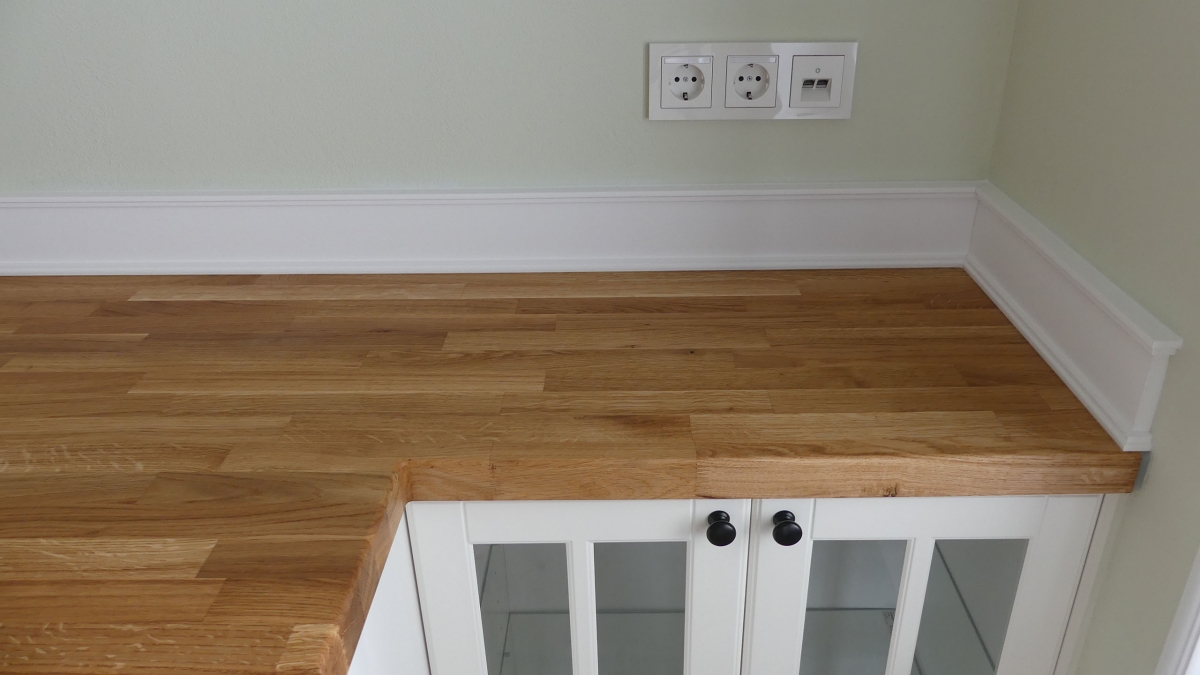
The end profile of the worktop to the wall is the only profile which could be mounted after the construction of the kitchen furniture and mounting the worktop. The profile has already been painted before assembly. The ends towards the open wall side are made with a double 45 ° cut so that a short end piece can be used. This is fiddly, but it looks better than a straight section.
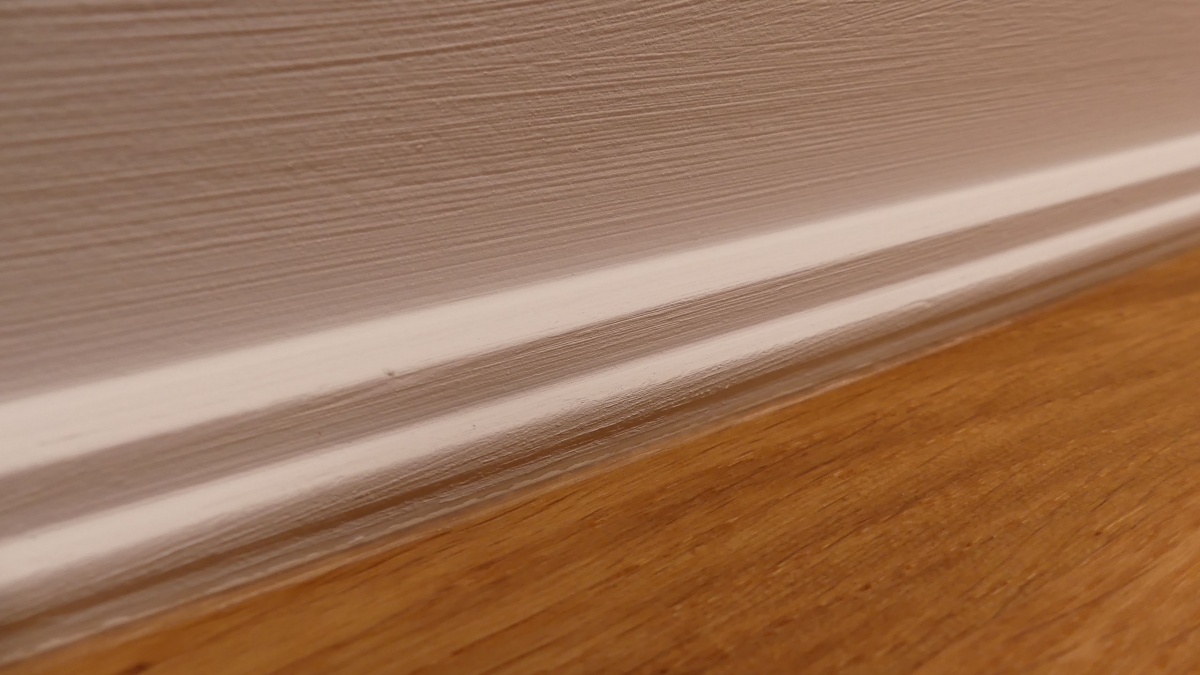
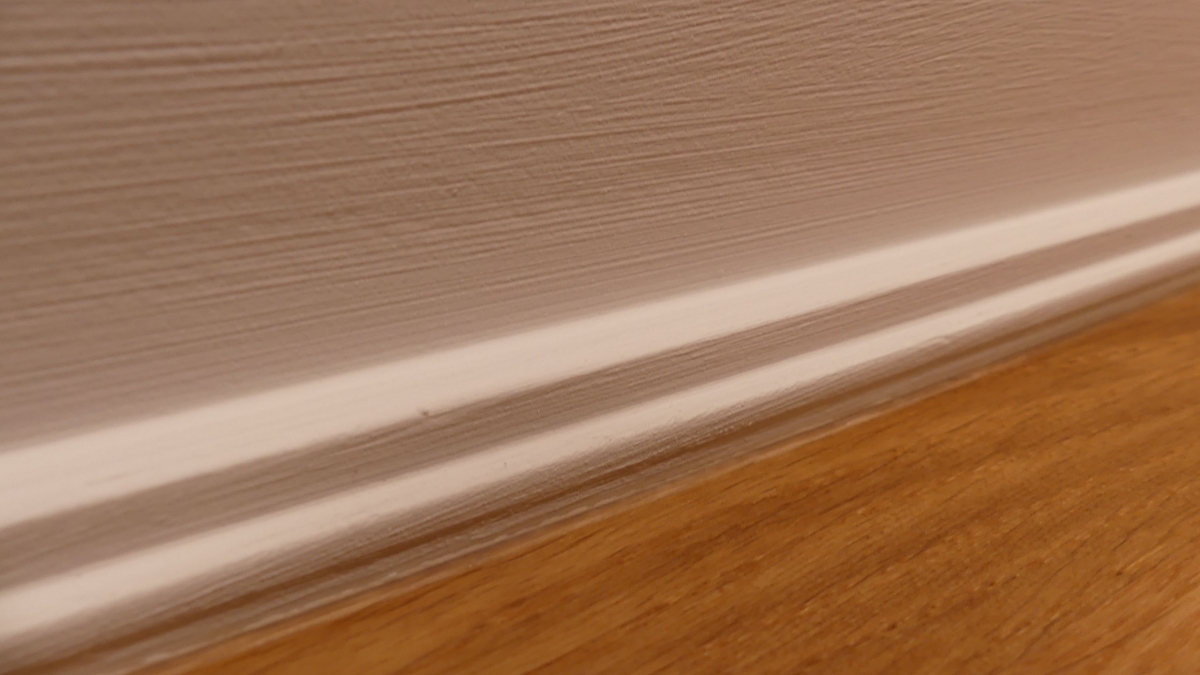
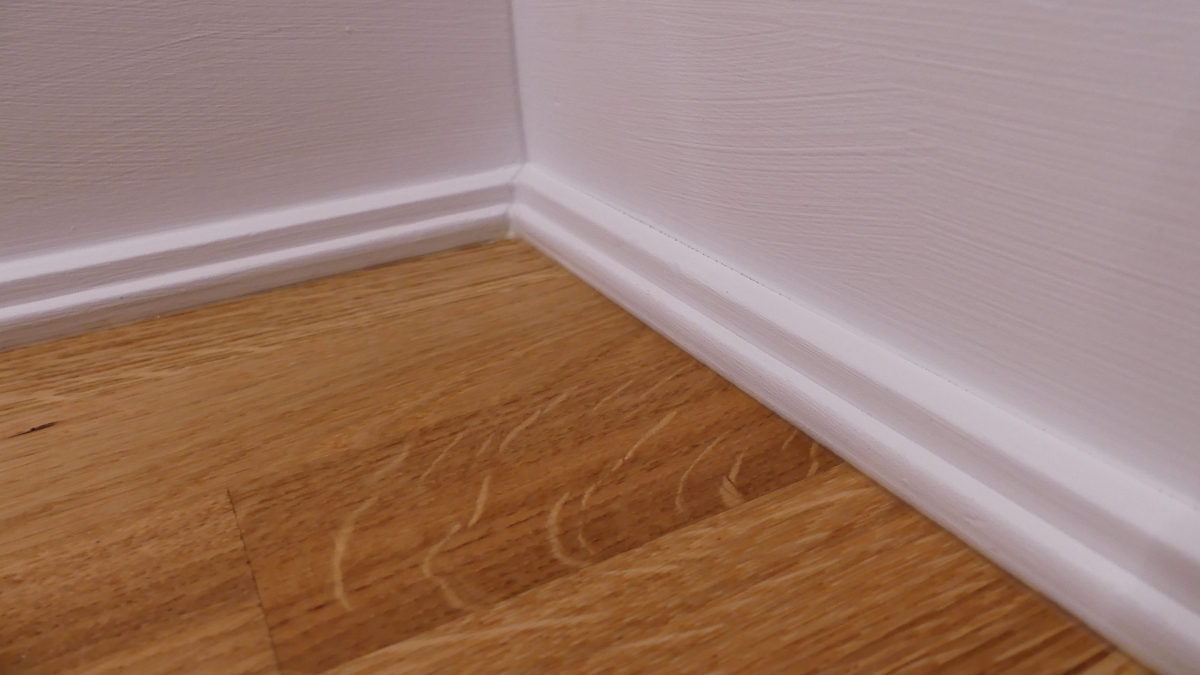
After the end profile has been glued, the transitions to the wall are closed by means of an acrylic seam. Likewise, the transitions of the profiles are provided to each other with a small arylic seam too. The connection down to the worktop is made with silicone. Again, a small seam is sufficient.
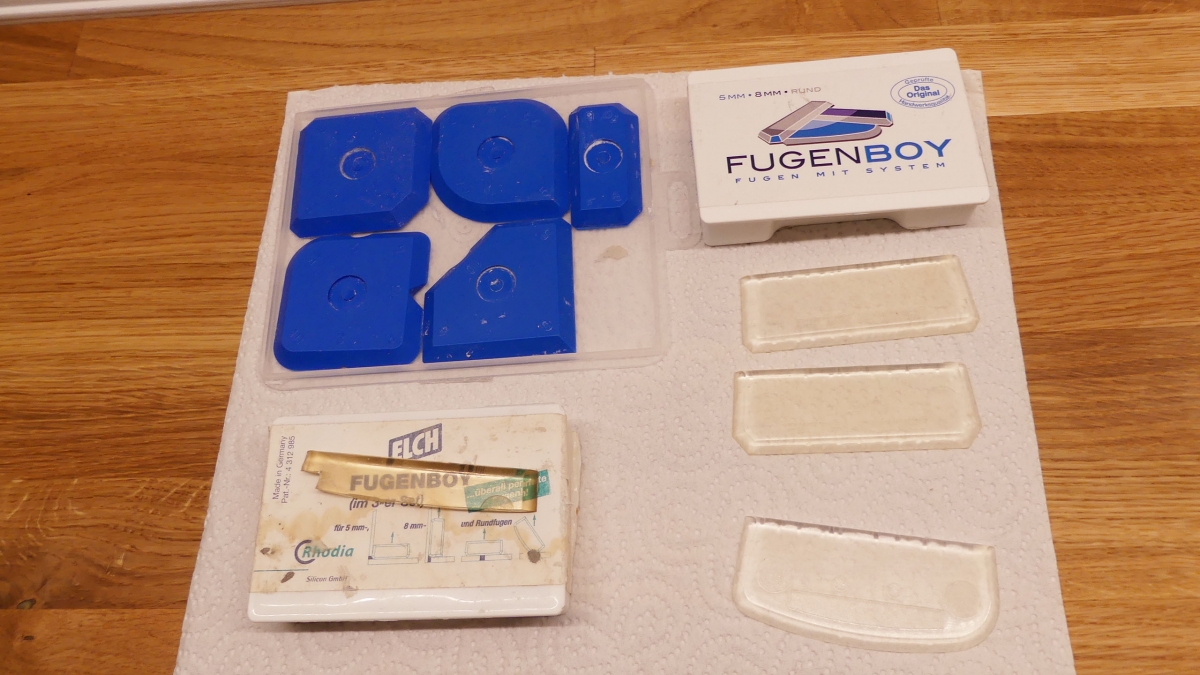
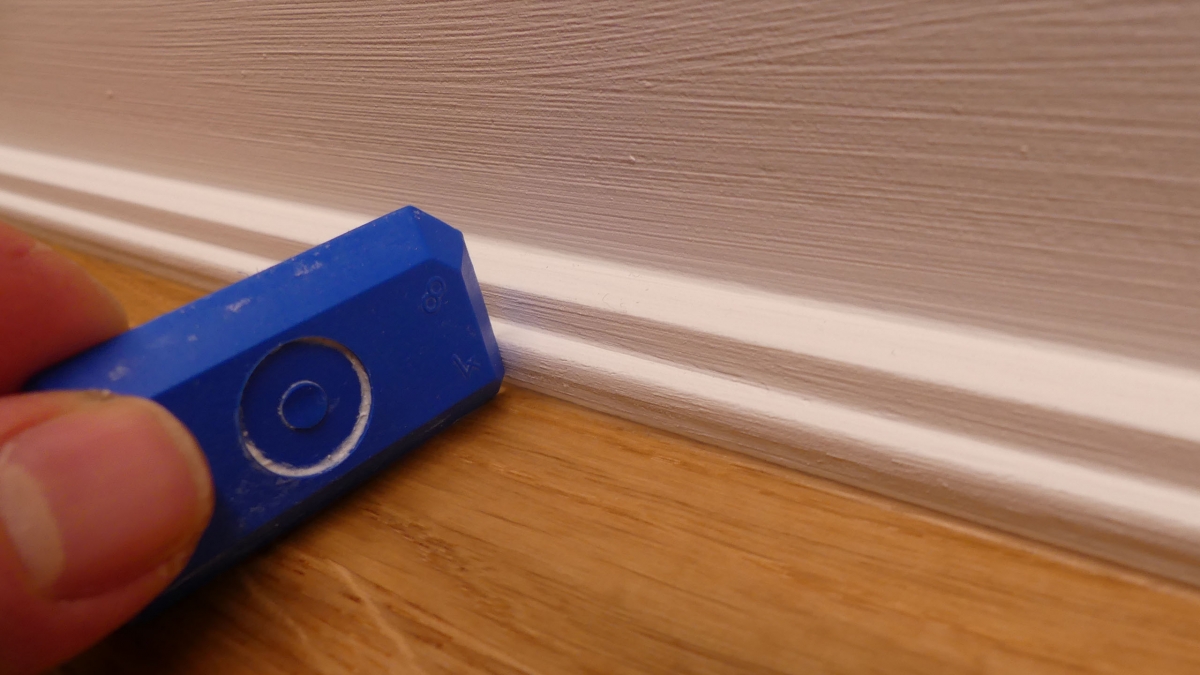
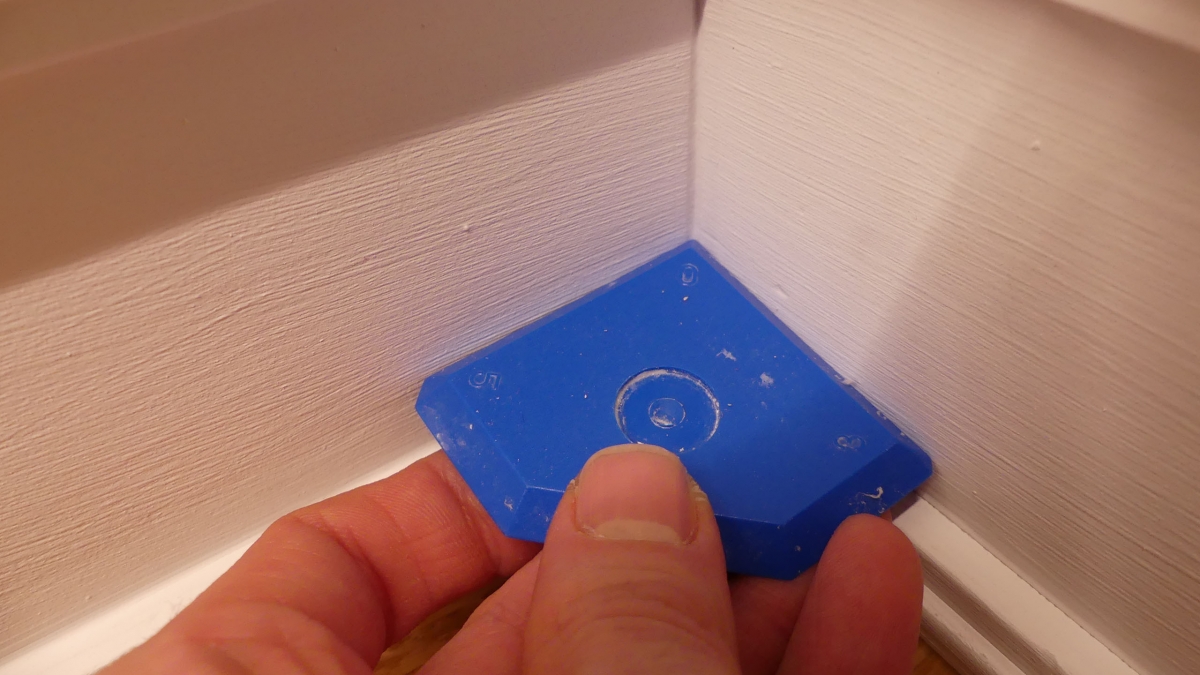
Tip: Really good silicone/arcylic sealants are achieved in my experience only with the correct caulking tool and smoothing agent. Here it is not enough just to use a little piece of wood (such as an icy stalk). Rather you need caulking tools for different widths and types of seams. These are not expensive and in any case worth an investment. The smoother acts as a separator to other surfaces and is only sprayed on after the acrylic / silicone has been applied to the joint (otherwise the acrylic / silicone will no longer adhere). Incidentally, a self-mixing of water and detergent tends to discolor especially white acrylic and silicone seams (color of the detergent), also the release properties are not comparable to those of smoothing agent. At this point should not be saved.
You do not necessarily need as many caulking tools as shown below, the blue set would be sufficient for most cases. The 4mm caulking tool is the right choice for the end profile of the worksheet, for inside corners you need the removal tool for 90 ° inside corners.
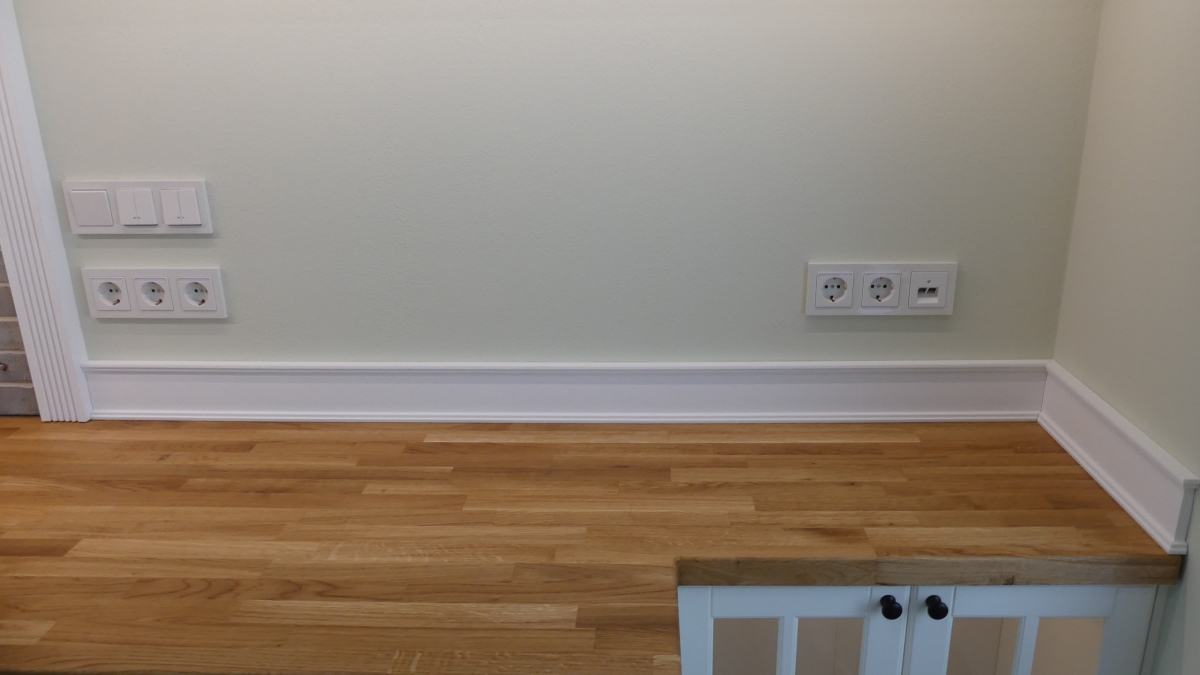
The reward for the work is of a well-fitted stucco profile as a finalization for the worktop.

